
This is the sixth entry in a nineteen part series that covers the construction of one of my saws from start to finish. For links to the other entries, please see the full chronological index. -Ed.
On letting the spine into the handle
Before cutting the mortise for the spine, it is worthwhile to pause and contemplate the importance of accuracy and precision in this step.
Let us assume that the slot for the blade was cut properly (parallel to the cheeks of the handle). It is now critical that the mortise for the spine be parallel to the slot (and thus to the cheeks). Additionally, it is very important that the slot in the spine and the handle are aligned when the mortise is completed. This is true of both slotted and folded spines.
If either of these criteria are not met, the saw blade will deflect when the saw is assembled, an affliction that is difficult or impossible to remediate.
If the mortise is properly aligned, then bonus points are awarded for completing the mortise so that no gaps are visible when the saw is assembled.
I mark the mortise by assembling the blade and spine, then sliding the blade into its slot in the handle. It the blade slot was cut correctly, the spine will naturally sit so that it is parallel to the cheeks of the handle, so long as the free end of the spine or blade is not pushed to one side or the other.
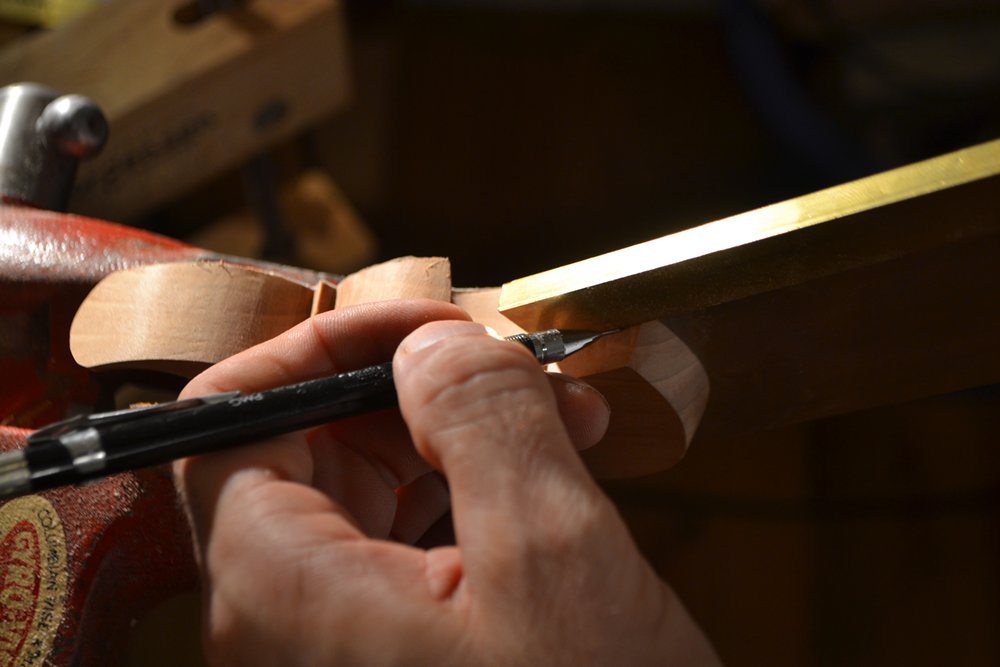
Mark the mortise on the top of the handle.
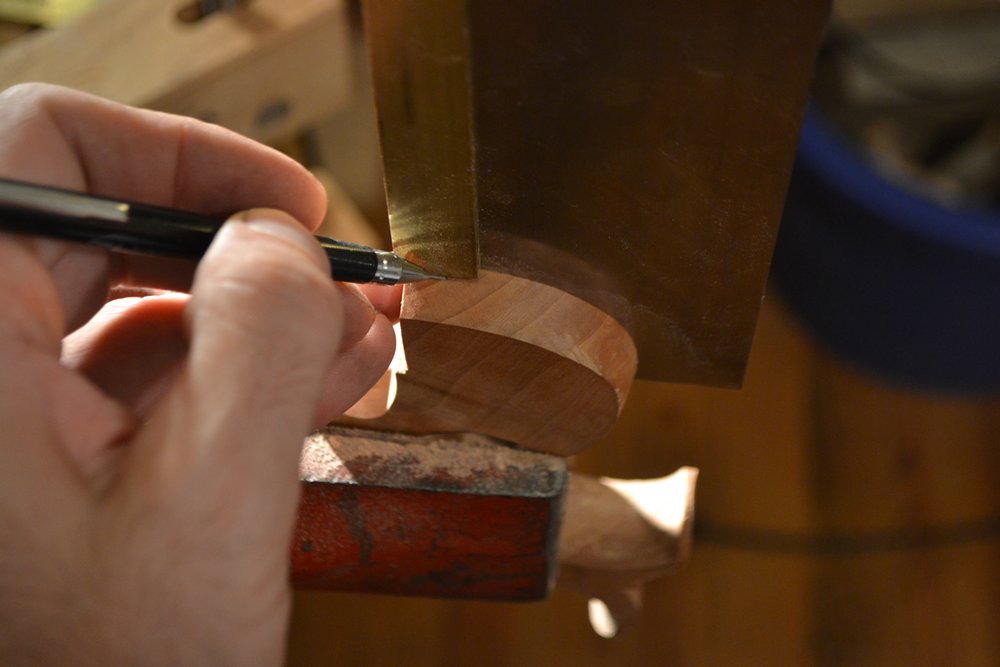
Mark the mortise on the front of the handle.
Mortise marked out.
To ensure that the mortise is parallel to the cheeks, I use a special cutter to begin the slot. This cutter began life as a metal cutting saw. If you look closely, you may be able to see that the corners of the teeth have been ground to match the chamfer on the spines.
I use this cutter on the drill press. The handle is held on an X-Y table by two toggle bolts (doing this freehand would be extremely inadvisable).

The cutter I use to begin the mortise. The chamfered corners on the cutter match the chamfers on the spine.
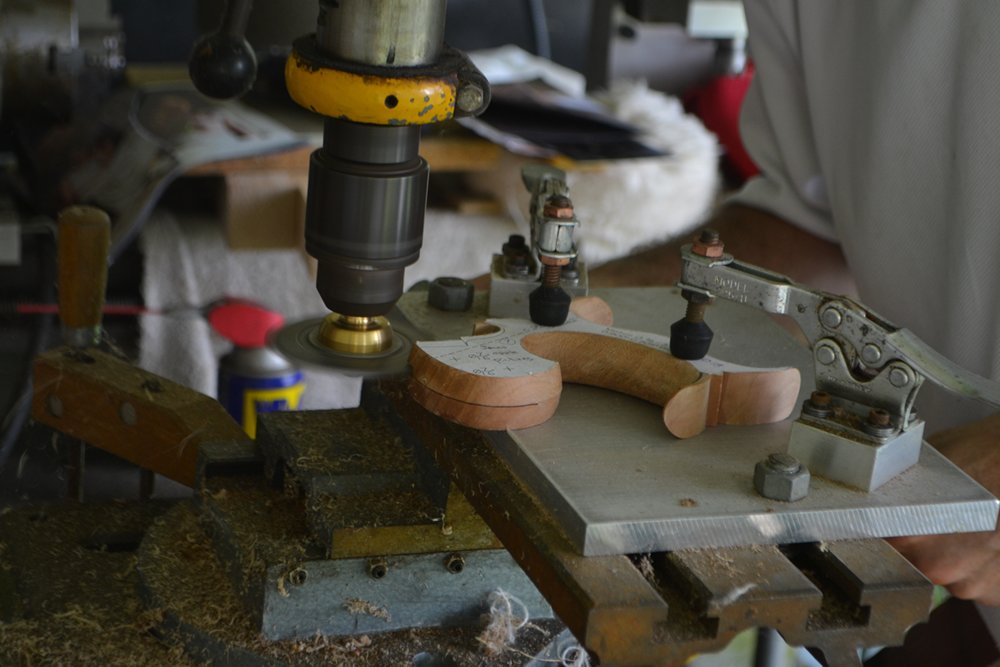
The cutter and setup in use.
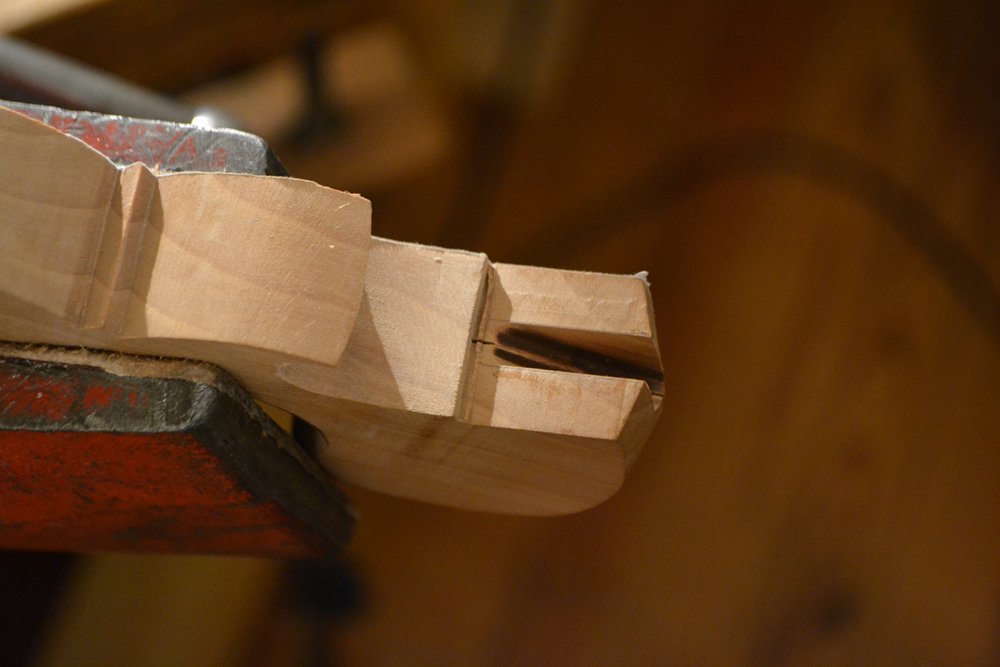
The beginnings of the mortise.
Now that the edges of the mortise have been cut, the remainder of the work must be done with chisels. Using the cheeks left by the cutter as a guide, completing the mortise is fairly easy. Slow work and constant checking with the spine usually yield a close fit.
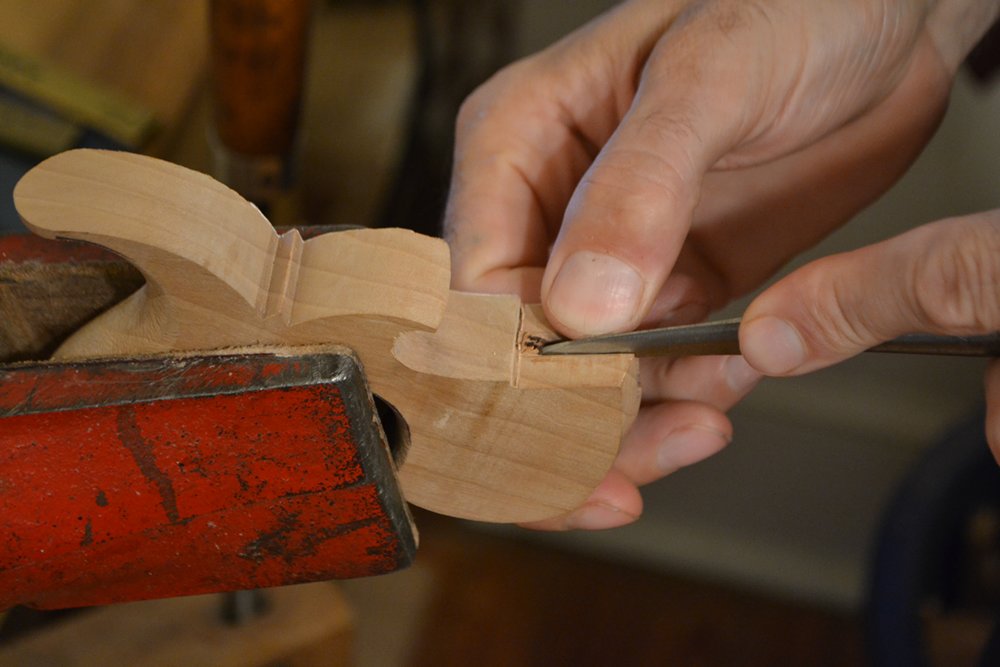
If needed, the mortise can be widened with a Vixen file or chisel. A mortise that is too narrow forces the cheeks apart, which leads to stresses when they are pulled back together by the saw bolts. If this stress is too great, the wood will crack around the mortise.
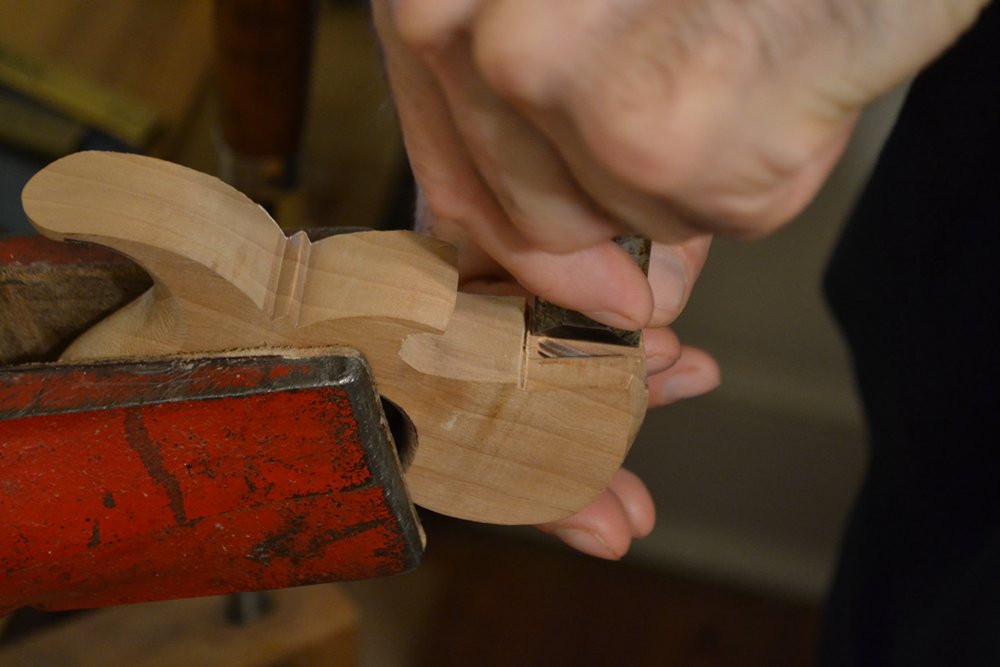
Cleaning out the mortise.
More cleaning out the mortise.
Yet more cleaning out the mortise.

And even more cleaning out the mortise.
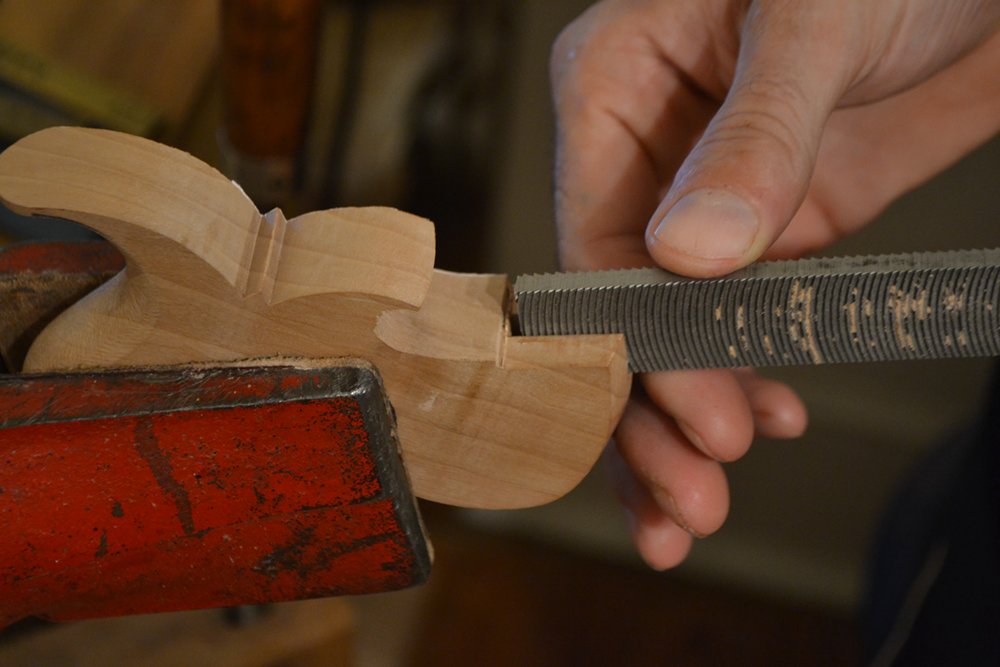
A Vixen file can be used to widen the mortise if needed. At times, I also use a chisel to do this.
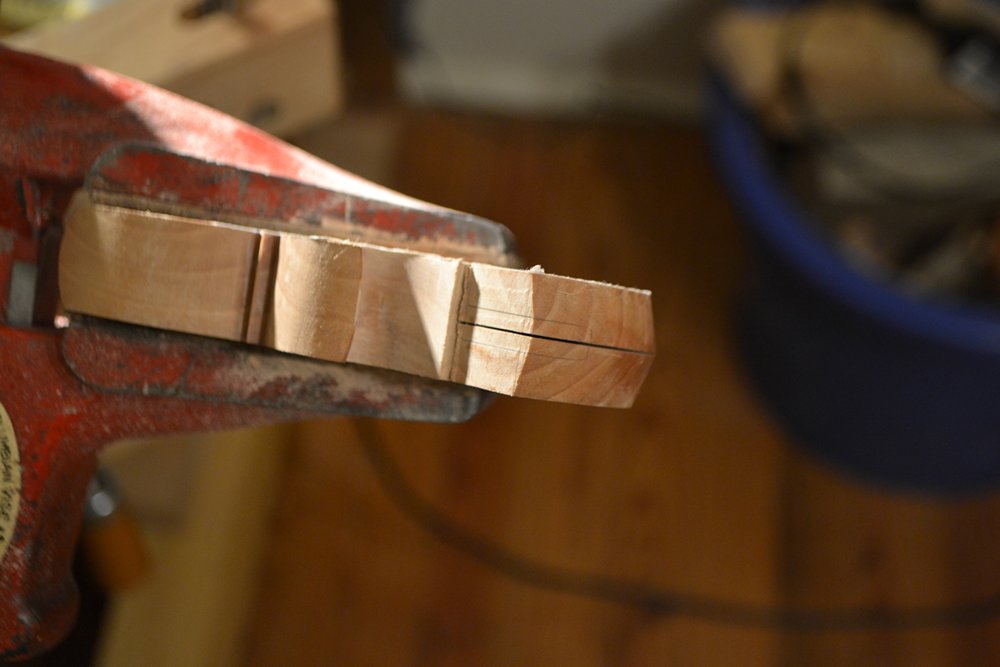
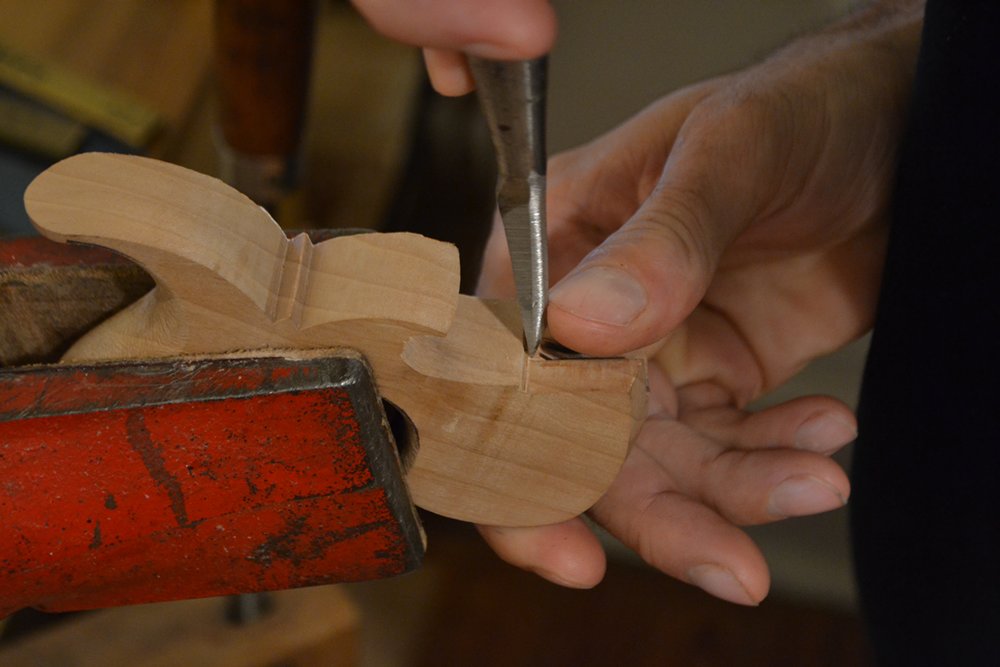
The little step is squared up with a marking knife and/or chisel that is guided by a square. The last thing I do is extend the back of the mortise to bring it in line with the step.
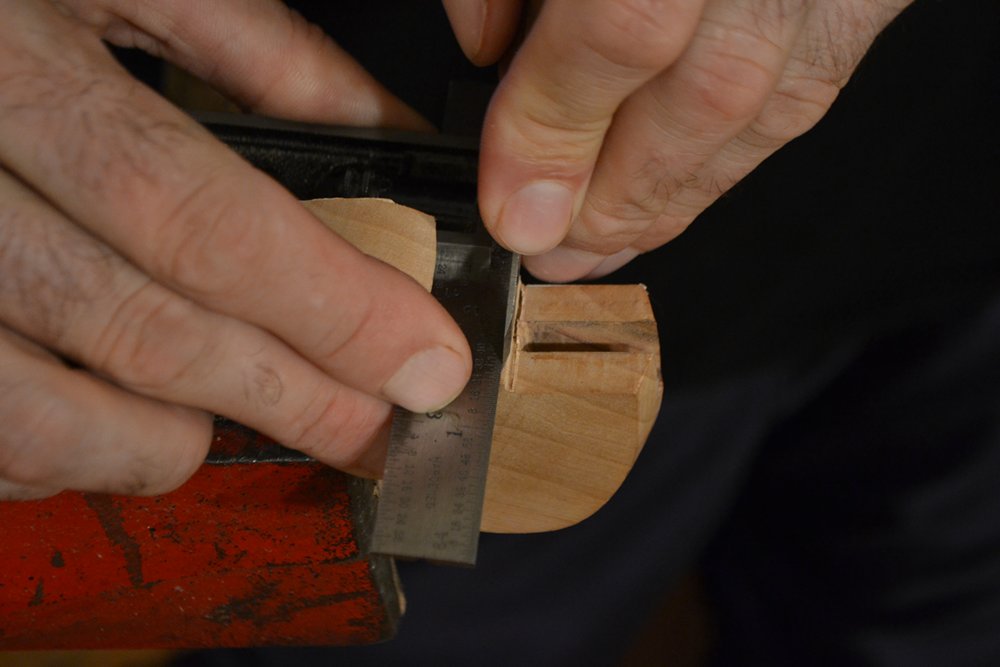
Clean up the step with a square and marking knife and/or chisel.
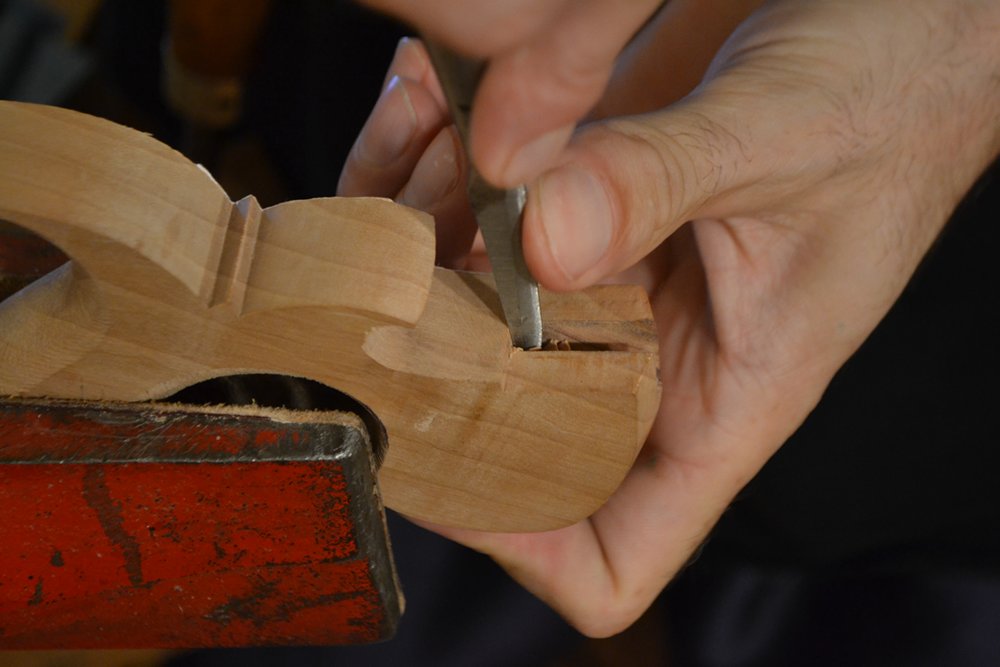
Extend the back of the mortise to align with the step.
And if I did everything properly, the result is a nice, clean mortise that the spine just slips into.
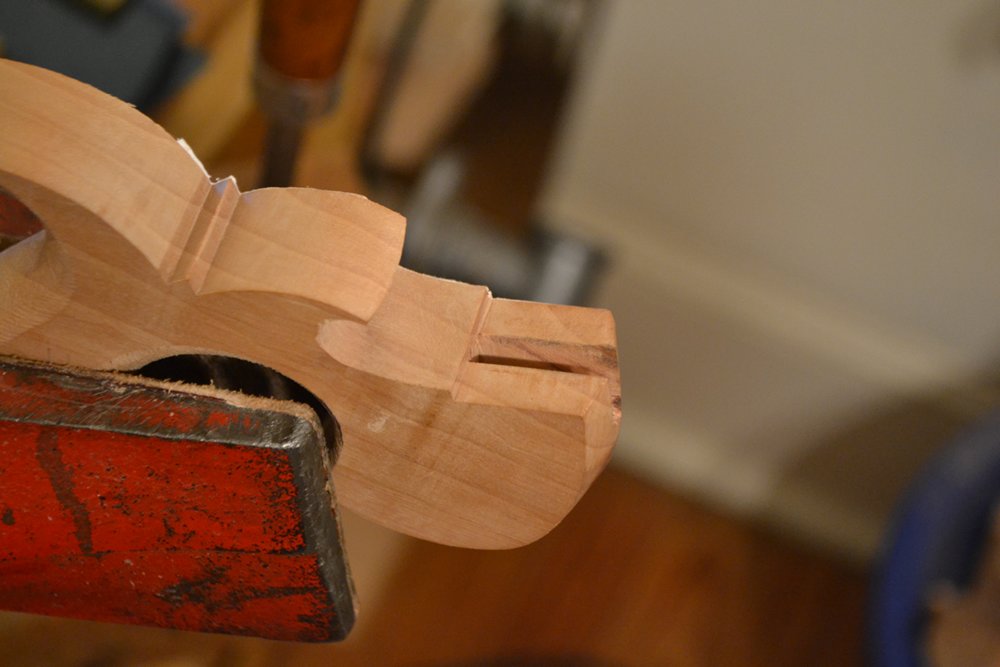
The completed mortise.
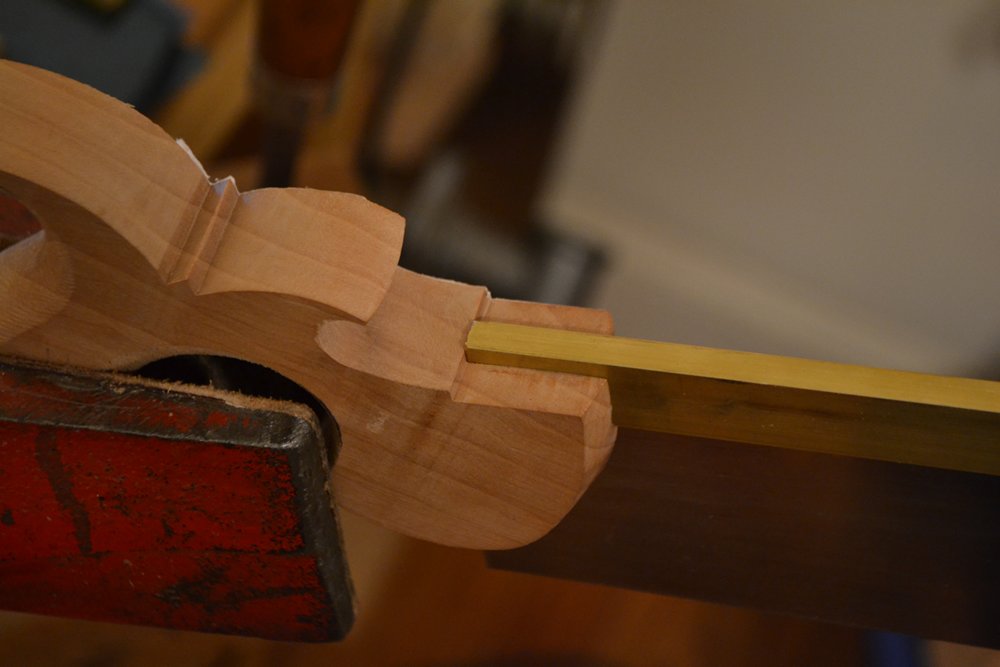
Checking the fit of the spine and the blade.
isaac,
I could see that you have an X-Y table on a drill press. why won’t you mill the spine – mortise as you would on a milling machine, using a 1/4″ cutter and deepening the passes until the desired depth is reached . No chiseling, filing or any other fitting operations.
Just a thought.
I’ve thought about doing something like that. There would still be a bit of cleanup to do, but you are right that it would be less to do than there is now.
Rather than do it in a drill press, I will probably try it at some point with a router. I may be worng, but my guess is that a drill press will not spin a 1/4″ bit fast enough to make a really clean cut.
Of course, doing it on a router would make it difficult to use the X-Y table, so you lose some control.
Thinking about it a little more, I think I will dig out a little end mill and try it on some scraps.