
This is the twelfth entry in a nineteen part series that covers the construction of one of my saws from start to finish. For links to the other entries, please see the full chronological index. -Ed.
Shaping the back (spine)
We will start with a slotted spine. I have briefly covered my slotting setup in previous posts, and will go into more detail in the future.
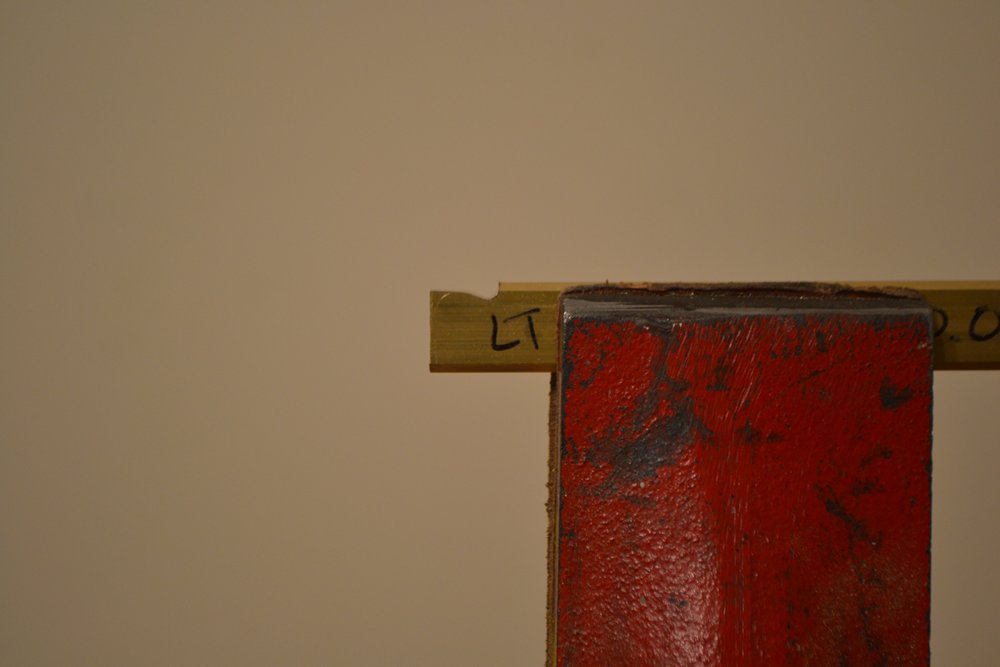
At this point, the back is simply a length of brass or bronze bar with a slot cut into it. The first refinement is chamfering all four corners. I have tried this on my milling attachment, but it is both slow and inaccurate. Every little variation and twist in the bar shows up in the chamfer, so my current method is to file them by hand.
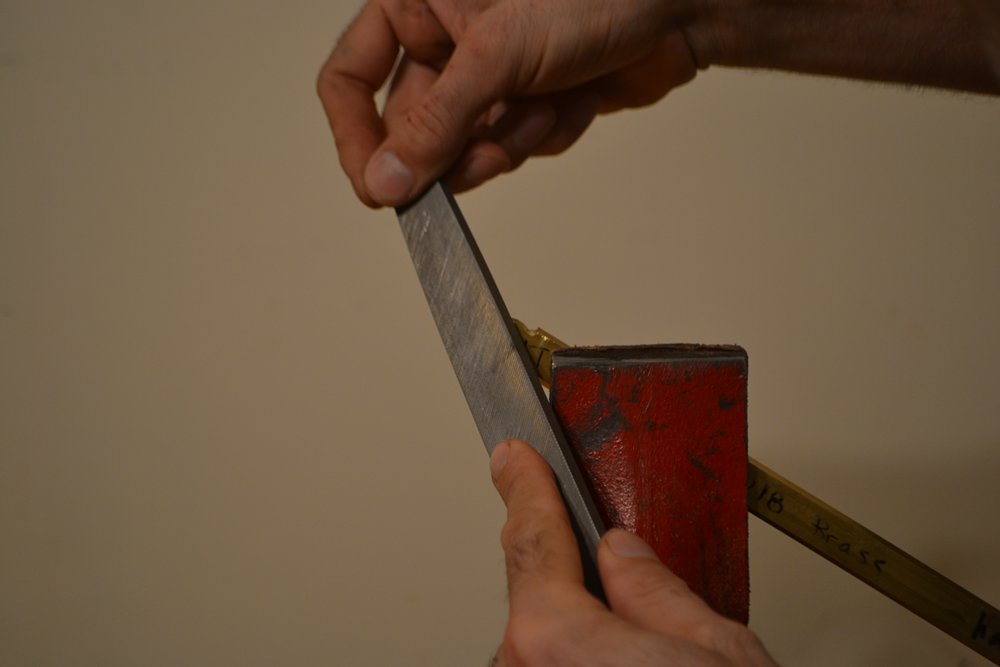
By setting the vise to 45 degrees, the chamfers will be at the same angle when I hold the file horizontal. All of the work is done by eye, with no layout lines. With chamfers this small, variations in width are easy to see.

Tilt the vise so that the jaws hold the back at 45 degrees.

Hogging off material with a large file.

Smooth the chamfer with a finer file (this is a lathe mill file).

If the chamfers are even, the slot will be centered on the flat edge.

All four corners chamfered.
Although the lamb’s tongue on the end of the back is an optional detail, most of my customers like it enough to order it. I am sometimes surprised that a detail that arose from covering up a mistake has become somewhat of a signature on my saws.
The lamb’s tongue is not difficult to make, but does require a bit of care and a steady hand to execute. As with so many other details, it is helpful to examine it from many angles to ensure that the lines look correct from all of them.

This is the template I use for the lamb’s tongue detail on the end of the back. It is made from spring steel, and was cut with the same files I will use to shape the brass.

Scribe the layout line.

The files I use, from top to bottom: lathe mill file, chainsaw file, and three-square needle file.

Showing the layout line.

Cut to the line with the chainsaw file.

Use the lathe mill file to shape the rest of the curve. This file has safe edges, which makes filing the point of inflection a little easier.
More work with the lathe mill file.

Still more work with the lathe mill file.

And yet more work with it…

…until the profile is shaped.

A quick check from various vantage points to ensure the curve is perpendicular to the sides.

Begin filing the chamfer on the concave portion of the curve with the chainsaw file.

File the convex portions of the curve with the lathe mill file. I don’t show the three-square file in use, but it works well in this area to clean up any little imperfections.
This is the easy part of the chamfer.

The completed chamfer. It should be a consistent width or thickness as it follows the curve.

Check from this angle (and from the top) for consistency. The slot needs to be centered on the flat section, and the chamfers need to be a consistent width as they follow the curves.
Only after successfully shaping the lamb’s tongue do I trim the back to its final length. This gives me an opportunity to correct a mistake by beginning anew on the detail.

Slip the blade into the spine, then place them into the handle.

Measure the amount that needs to be trimmed from the other end. Remember that the back should overhang the blade by about 1/16″, so the length to be trimmed is about 1/16″ less than the current overhang.

Transfer this measurement to the other end of the back.

Scribe a cutoff line.

Cut to length with a hacksaw.

Clean the cut and deburr with a file.
Finally, I stamp each back with its serial number.

Stamp the serial number into the end, where it will be hidden inside the handle.