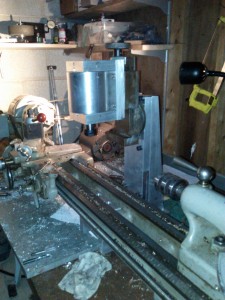
Mill column fabrication
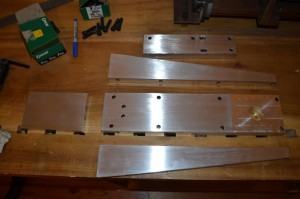
While the milling head was the most involved part of the build, the column was also time-consuming. Lots of drilling and tapping, as well as some machining, can really eat up some time.
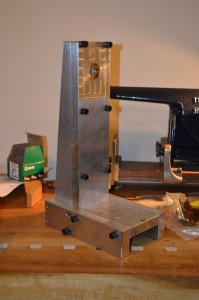
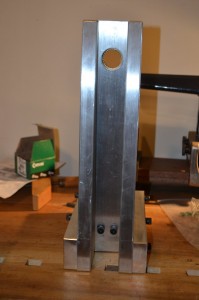
I think everything here is fairly straightforward. The milled surface on the front top of the column is where the vise will be mounted. There is a bronze sleeve in the hole the the lug on the vise fits into. Although I don’t plan on rotating the vise often, I would prefer to minimize steel to aluminum contact, especially when those parts are moving.
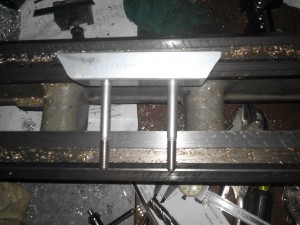
The column is held against the underside of the bed by two bolts that pass through a clamping bar. As the bolts are tightened, the clamping bar wedges between the webs that connect the two ways. It makes for a very rigid connection, and requires no drilling into or modification of the lathe. The clamping bar sits low enough that the tailstock can pass over it.

