
This is the fourth entry in a nineteen part series that covers the construction of one of my saws from start to finish. For links to the other entries, please see the full chronological index. -Ed.
Shaping the lamb’s tongue
Since the saw we are following is an open style, there is no return of the handle to the cheeks. As this is an area of great visual interest, let’s take a detour and document the shaping of the lamb’s tongue and associated areas on a closed handle saw.
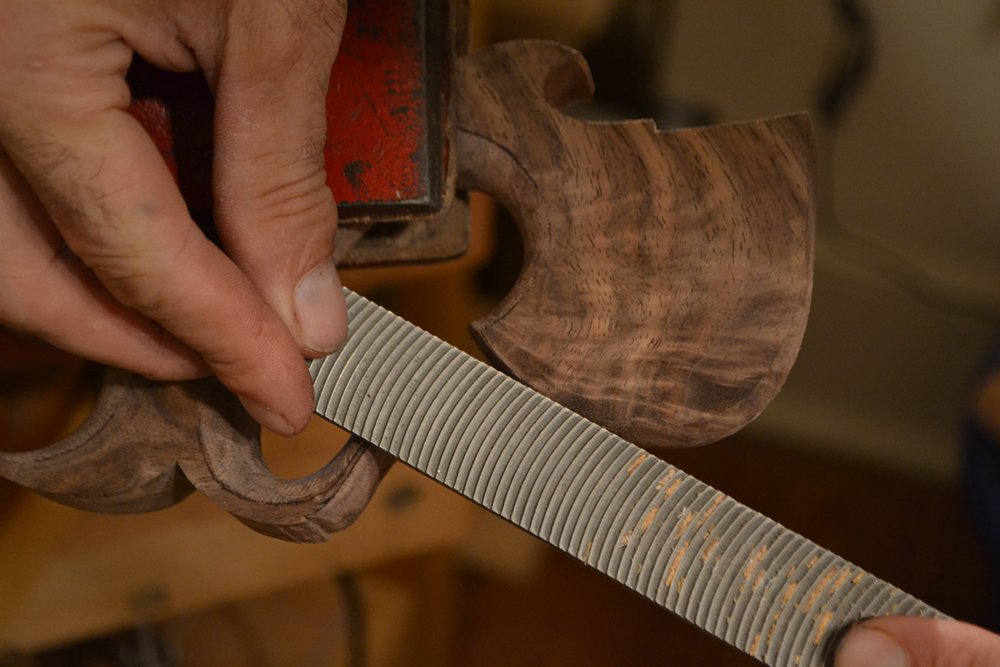
Although the lamb’s tongue is deceptively simple to create, this detail can really dress up a handle when properly done. The bulk of the work in forming it is done with a 6″ slitting file. This slitting file has a cross section in the form of an elongated diamond, being about 1/8″ thick and 5/8″ wide.
The lamb’s tongue can be carved with chisels, but I find that method slower, as well as riskier (it’s very tempting to pry chips loose, which will often break off the delicate parts of the lamb’s tongue).
There are a lot of angles and curves coming together in this small area, so take your time and study the work often and from varied angles to be certain that the detail emerges symmetrically and with smooth curves.
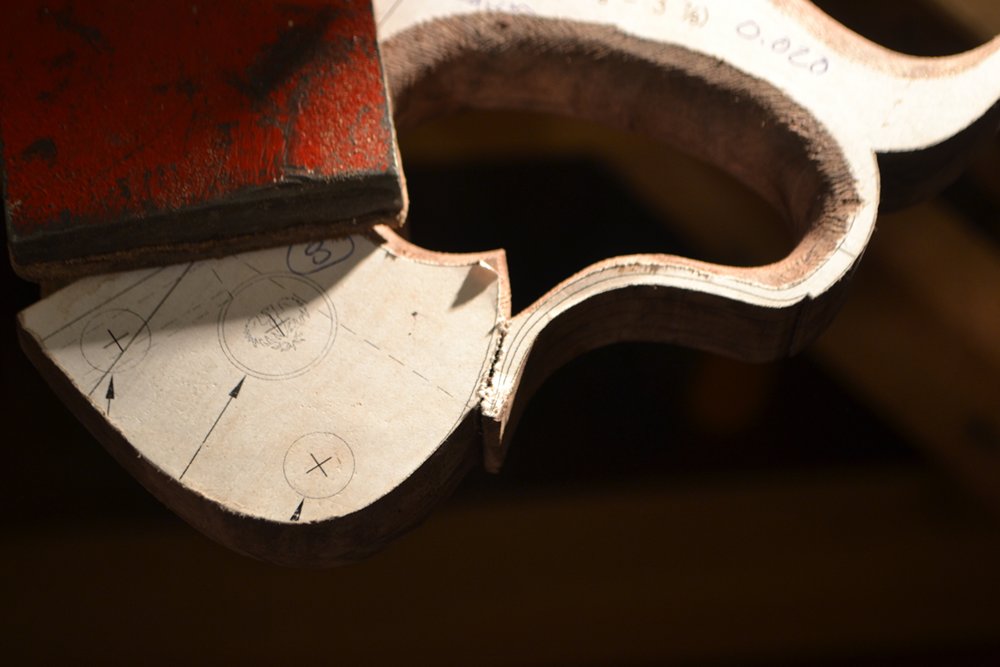
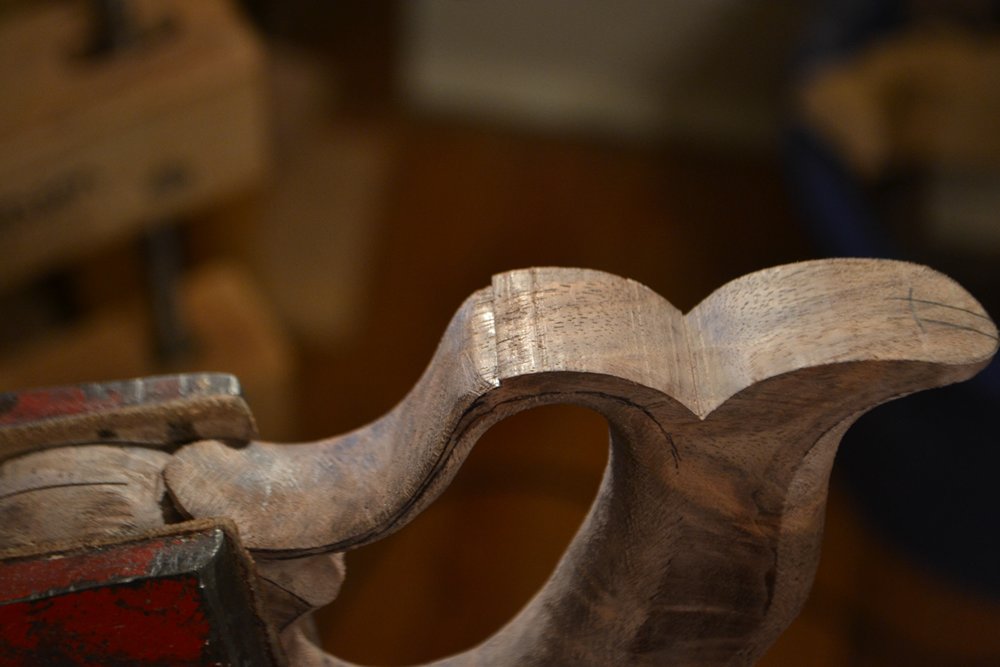
Lamb’s tongue before any refinement.
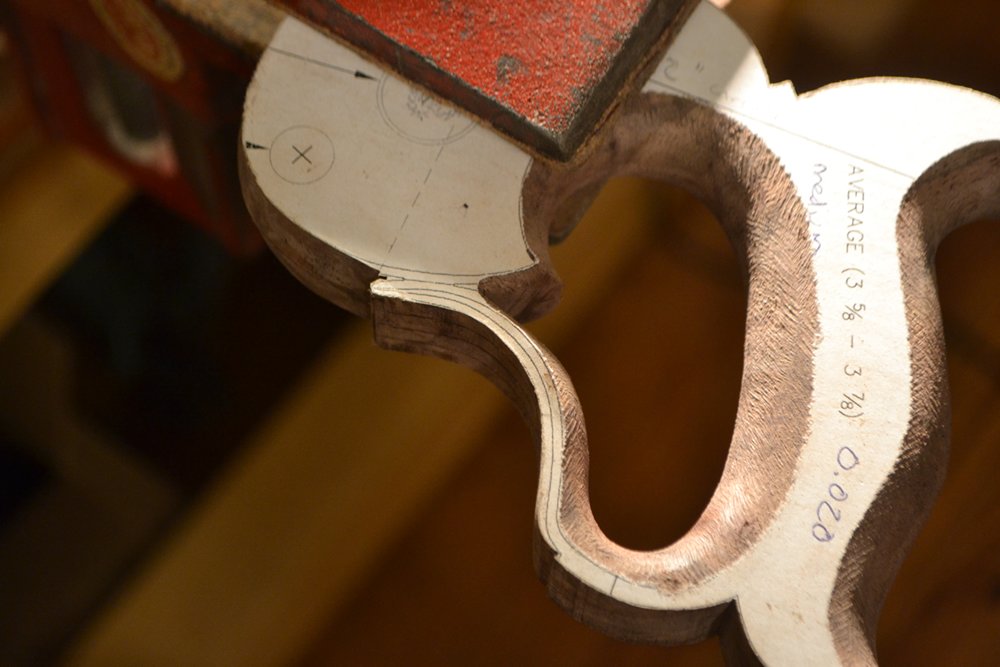
Saw kerf that begins to separate the cheek and the tongue.
Profile of lamb’s tongue drawn.
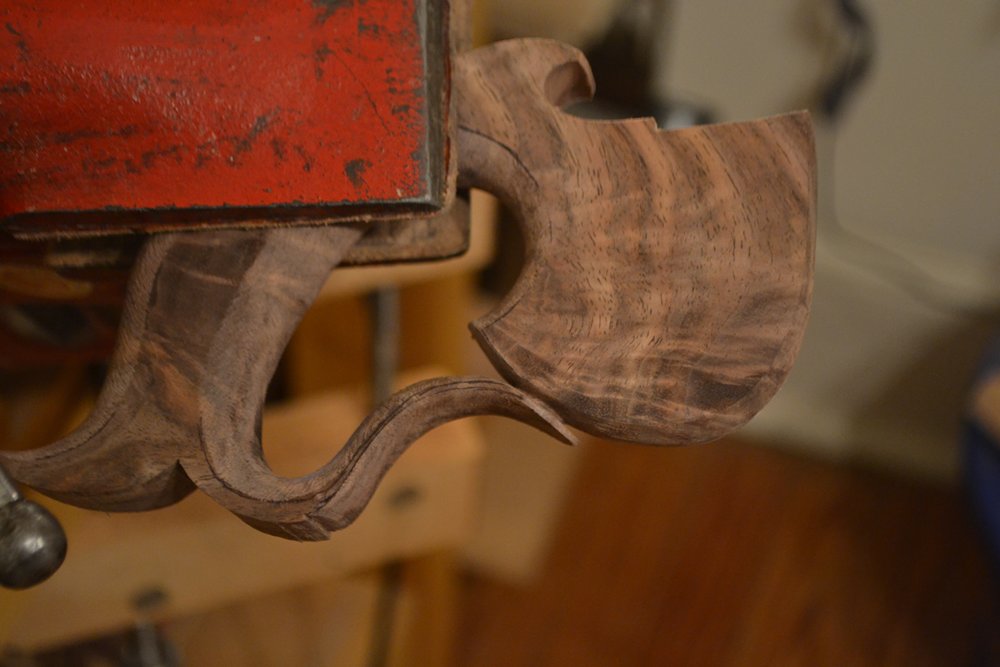
Profile after rouging in with Vixen file.
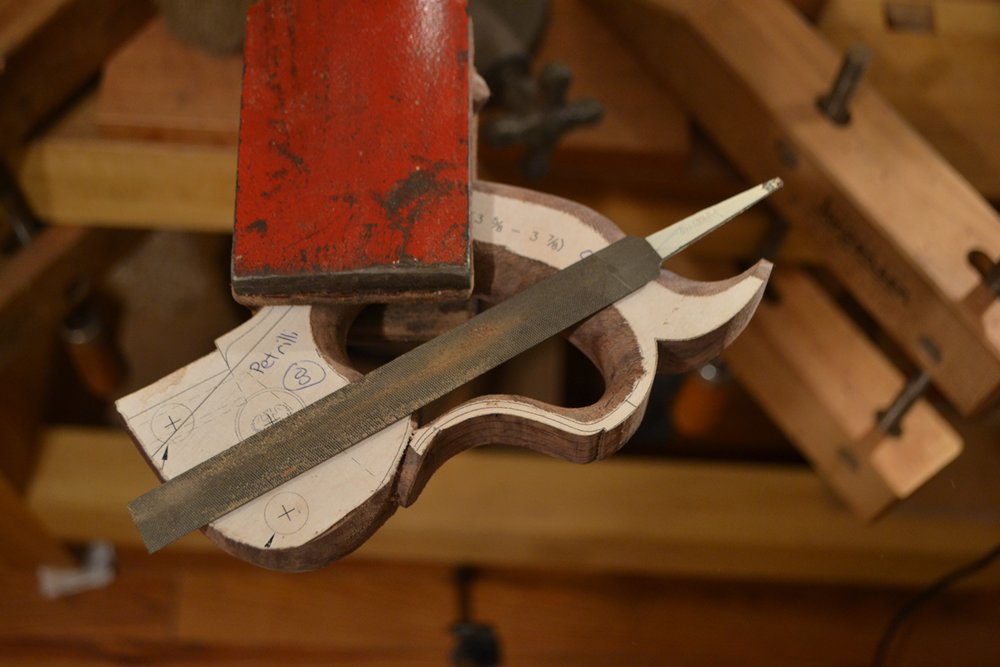
The bulk of the work from this point forward is done with a 6″ slitting file.

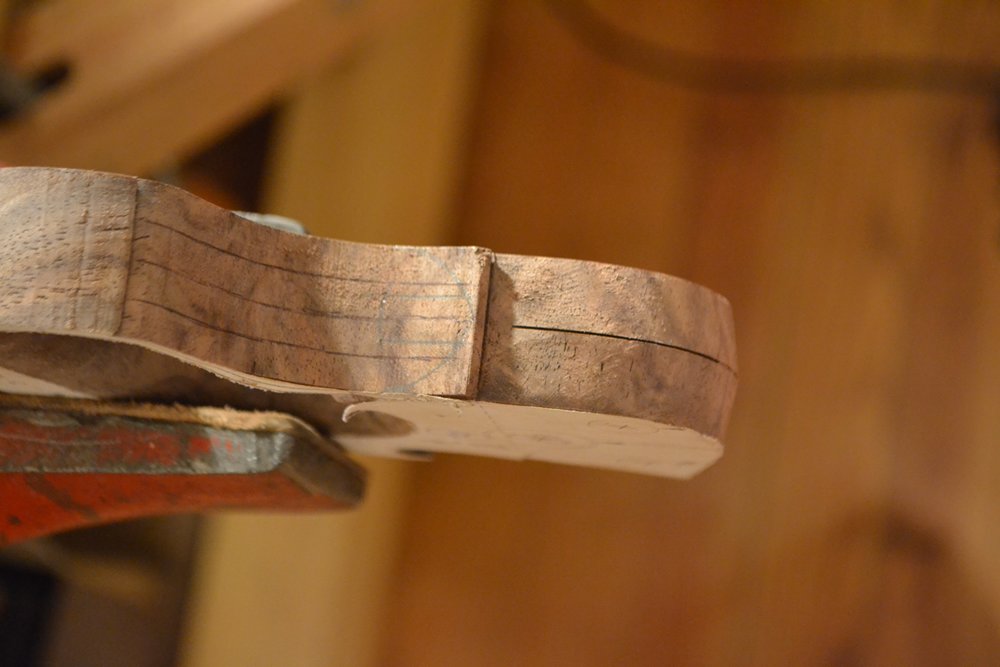
Side view of lamb’s tongue after roughing out.
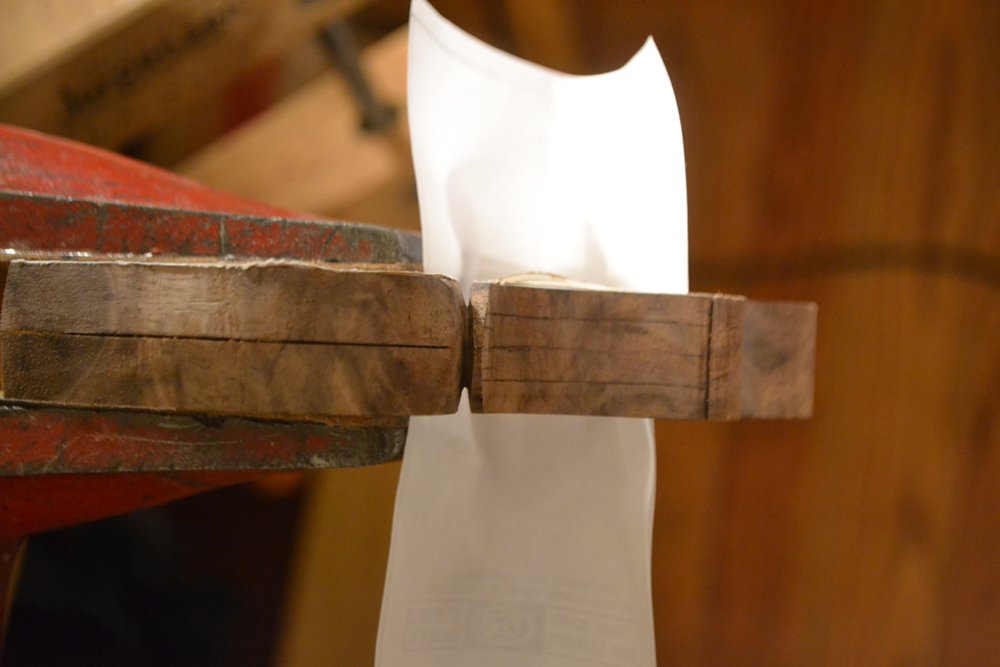
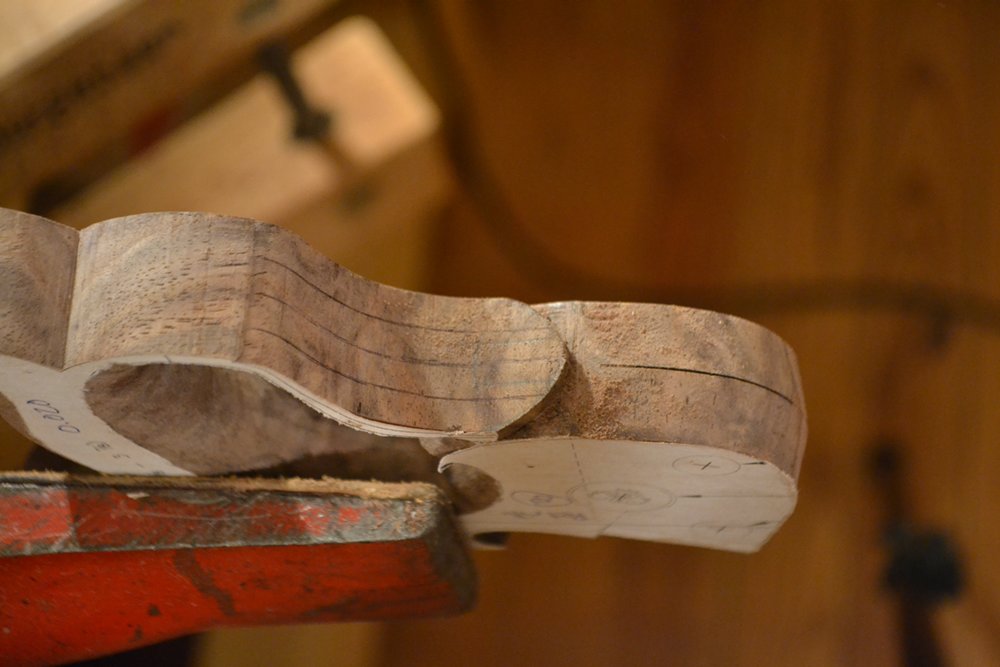
End view of lamb’s tongue after being roughed out. The paper behind it is for contrast.
The next area of interest is aft of the lamb’s tongue. The rounded portion is shaped with rasps, using the layout lines as guides to ensure symmetry and smooth curves. After shaping this area, our attention turns to the notch or clip that marks the transition from that section to the flat, unrounded portion of the handle.

Use a rasp to round over this section of the lamb’s tongue.
I first clean up the notch with a square and marking knife, then use a chisel to create a flat just in front of that. Finally, I use a rasp to blend the curves up to meet the notch.
Using a square and marking knife to clean up the notch.
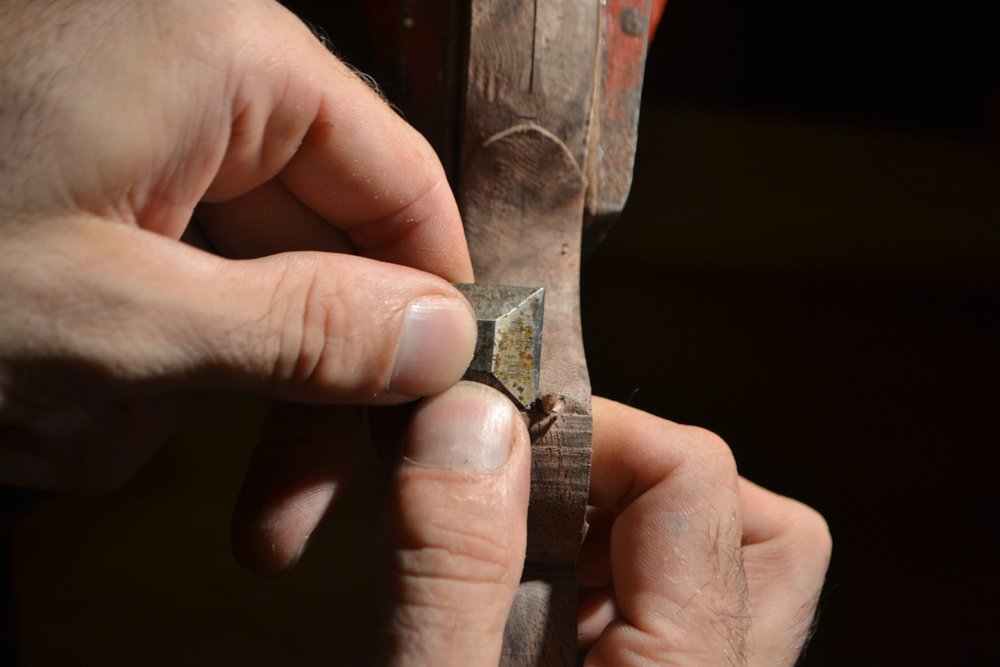
Using a chisel to create a flat just in front of the notch or clip.
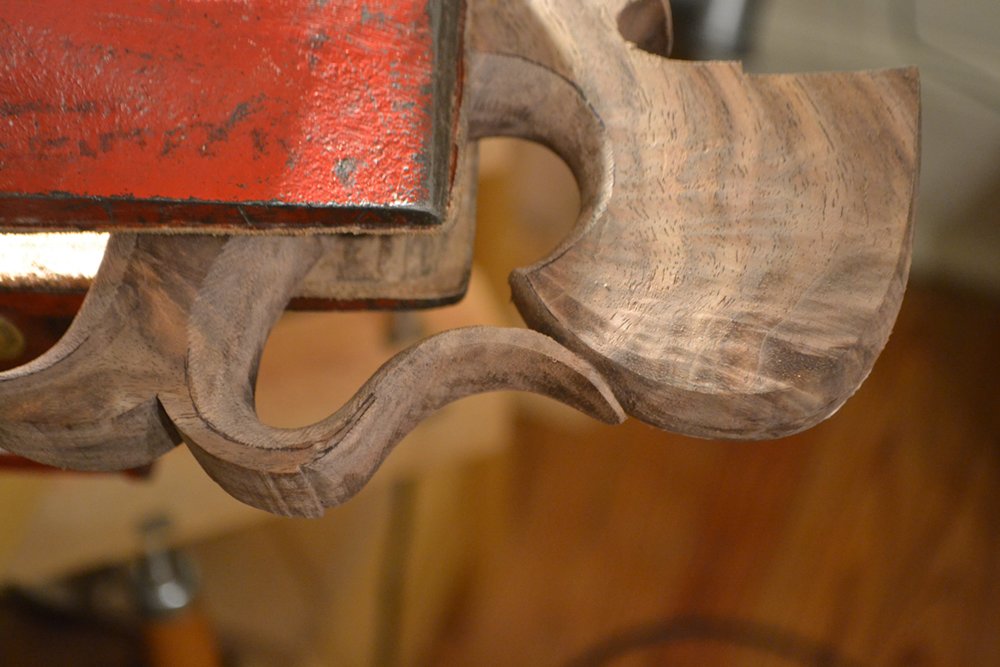
Notch or clip defined.
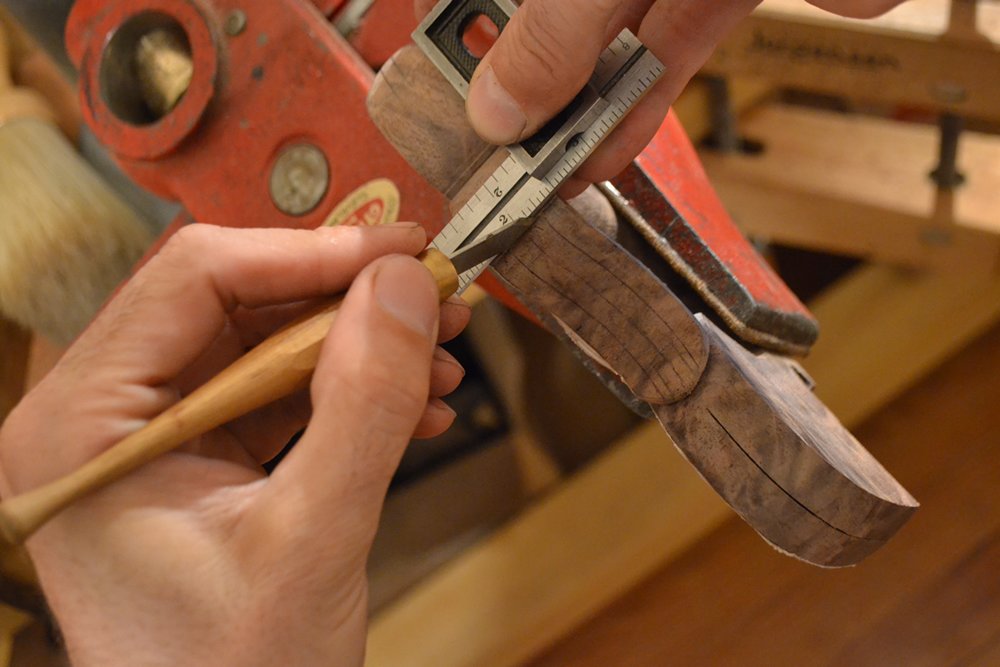
The last step is to narrow the lamb’s tongue, which is easily done with a Vixen file. After it is narrowed, I round it over a little more to get back to a narrow, consistent flat (which I forgot to document, but should be very easily imagined).
Before narrowing the lamb’s tongue. Like many other details, it is purely decorative, although I suppose it could be argued that it makes it more difficult to catch and break off the delicate end of the lamb’s tongue.
Narrowing the lamb’s tongue with a Vixen file.
After narrowing, but before further refinement to create a consistent flat.
The lamb’s tongue being now formed, our detour is at an end. Like many other details on shapely tools, this extra bit of work makes a huge difference in the final look of the saw, helping to move it from a utilitarian realm to one where we find pleasure, and even inspiration, in an object whose beauty exists for no other purpose than filling our desires.
The next entry in this series shall cover cutting the mortise for the spine.