
This is the third entry in a nineteen part series that covers the construction of one of my saws from start to finish. For links to the other entries, please see the full chronological index. -Ed.
Slotting and roughing out the handle grip
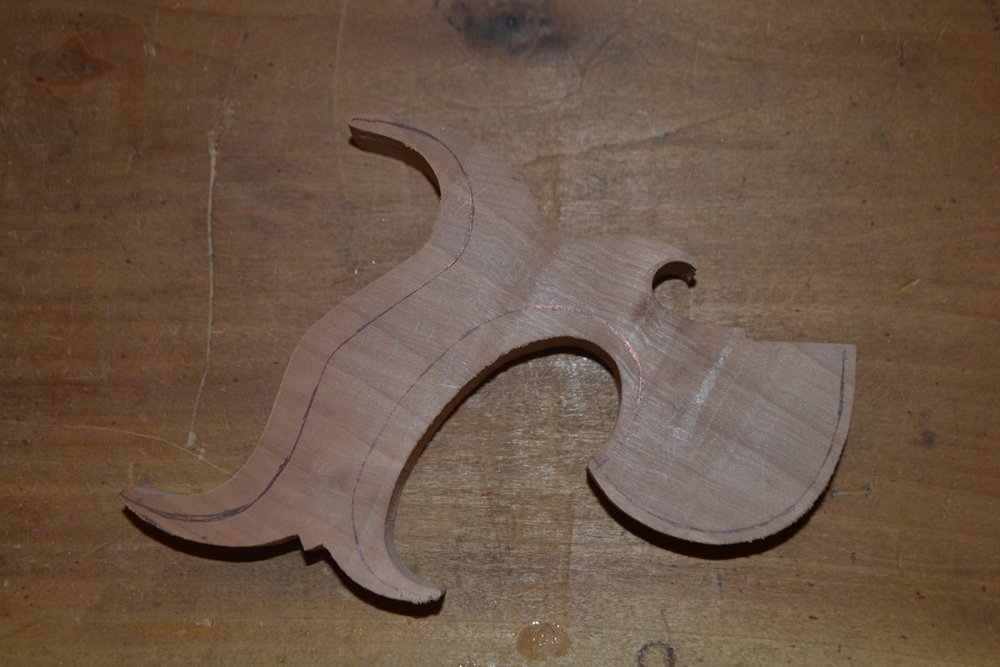
The last post ended while I was sawing the handle blank out on the scroll saw. The sawn blank is shown below. The wood is apple.

Handle fresh from the scroll saw.
Slotting the handle is one of the trickier parts of handle making, so I like to get it out of the way as soon as possible. The less time invested in a handle, the easier it is to move on should I make a mistake.
Before cutting the slot, I chamfer the front edges of the cheek. Attempting to chamfer them after slotting often leads to blowout or spelching. My tool of choice for shaping the chamfer is a ten inch milled tooth file (see picture below). This particular one is a NOS “Vixen” with fine teeth (18 TPI) on one side and medium (12 TPI) on the other.
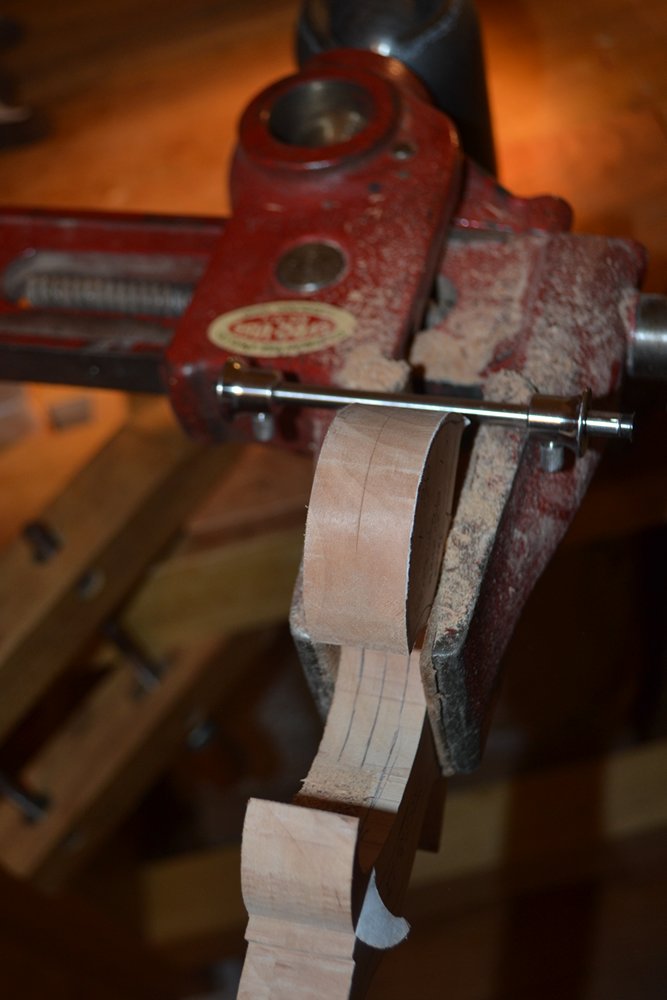
Marking the center of the blade in preparation for chamfering the cheeks.
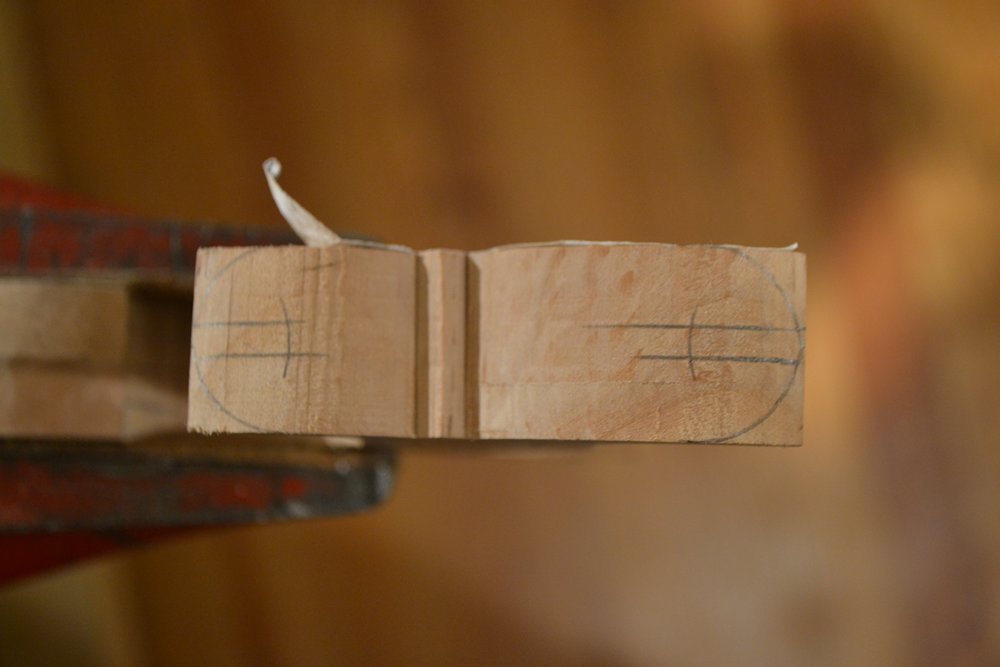
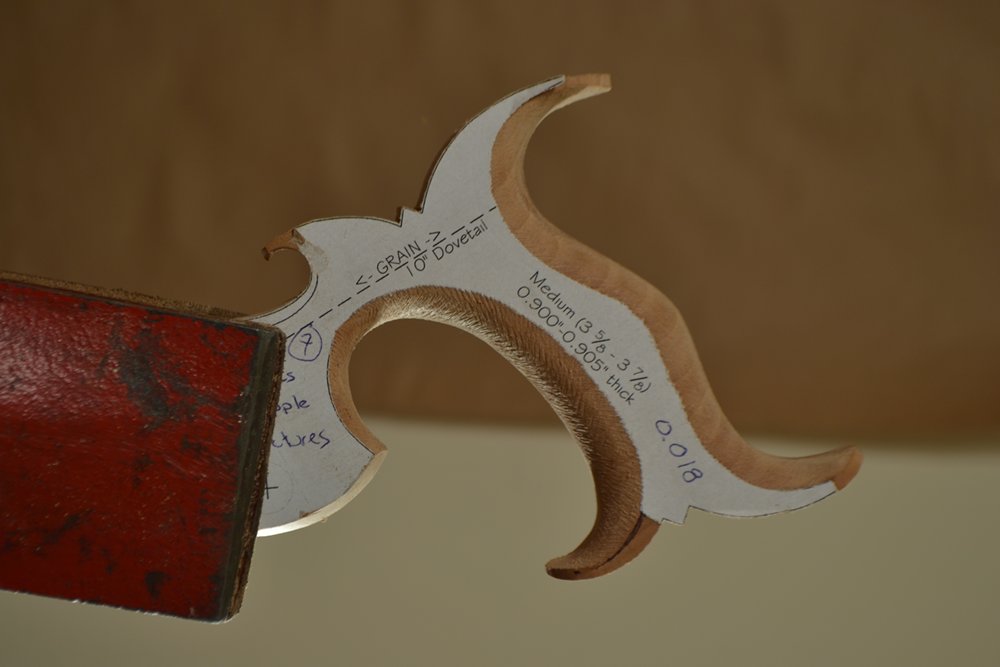
I begin cutting the slot on the drill press with a slotting saw of the same thickness as the blade. I only cut about 1/4″ deep with this saw, then finish the cut up with a saw whose kerf matches that of the blade. I take my time on this cut; an errant or wandering cut can ruin the handle.

Beginning the slot for the blade on the drill press.
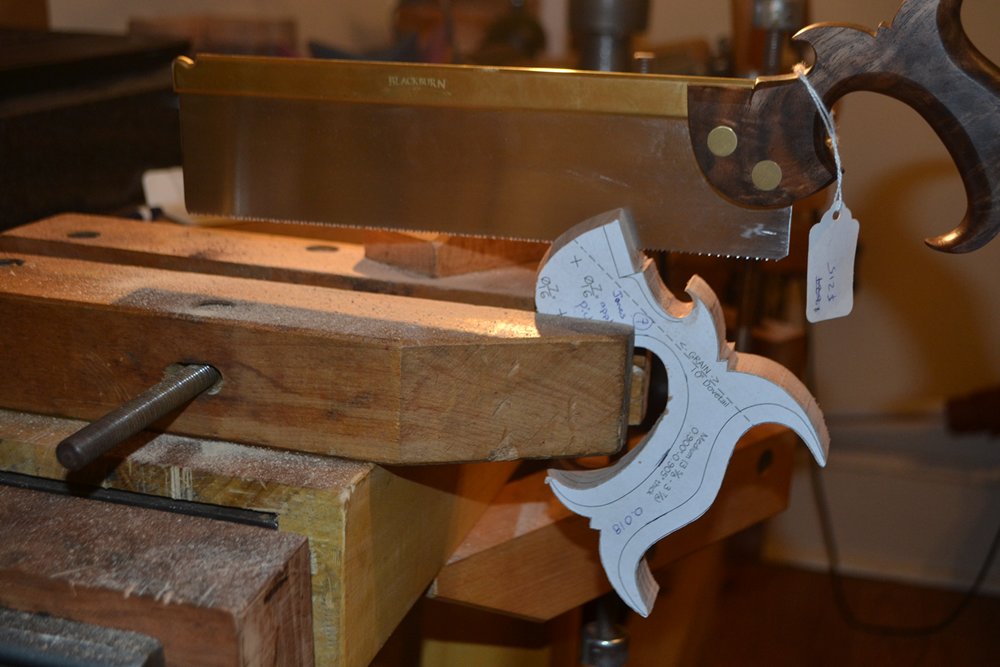
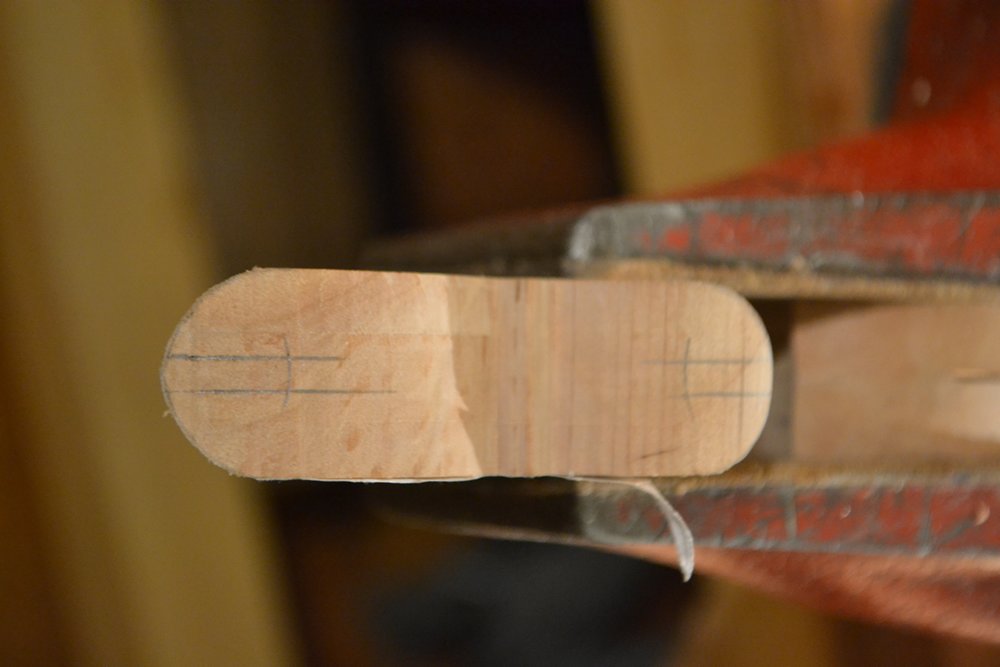
Completing the slot with another saw.
After cutting the slot, it is on to roughing out the grip, one of my favorite parts of making the handle. This sculpting adds a third dimension to the handle blank, and marks the beginning of its transformation into an elegant and inviting shape.
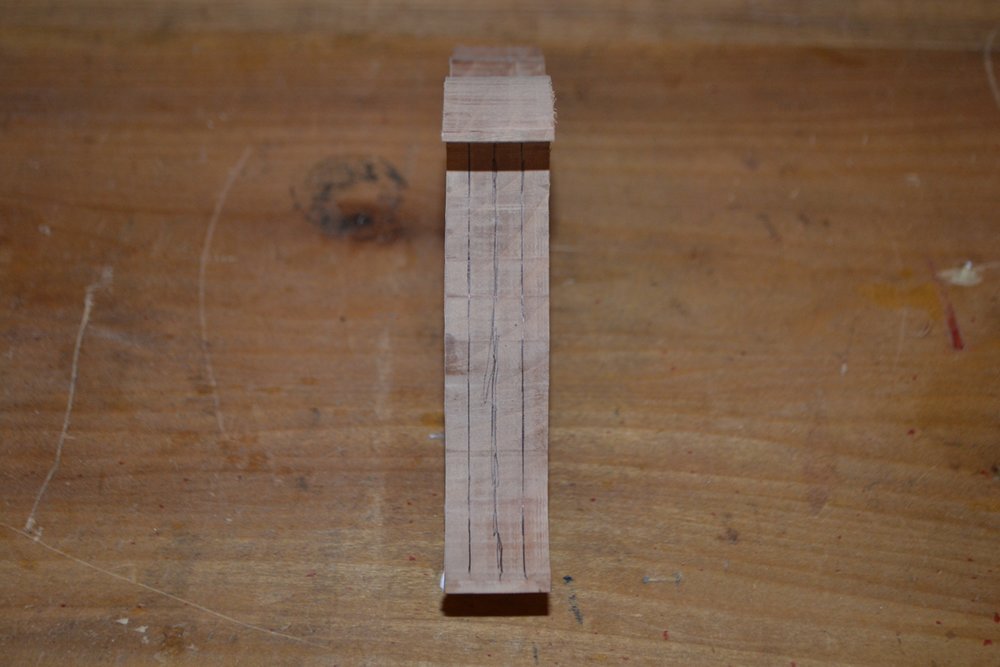
I draw three lines around the inner and outer edges of the grip to divide each into four equal thicknesses. Lines drawn on the backside of the blank match the curves on the front. All of these lines are drawn freehand, and they show it at times.
Back side of the handle, with the profile drawn.
Outside of the grip, showing the lines that mark the chamfers.
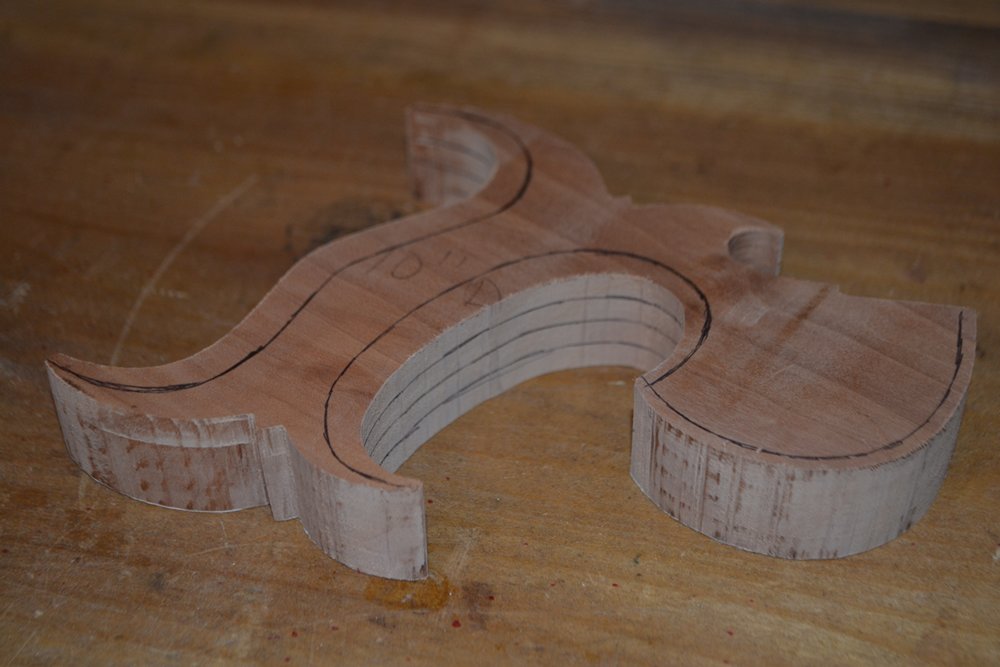
Back side of the handle, showing all of the chamfer lines.
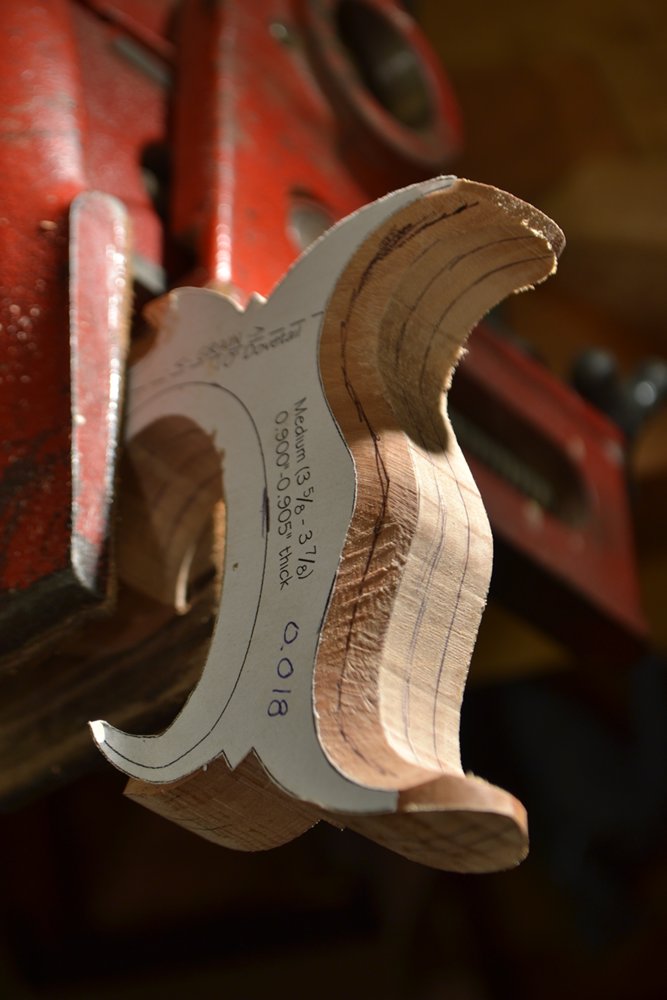
The final layout is to round the horns, which is done with a compass. Rather than rounding the horns to a semicircle, I strike two offset arcs, giving the horns a slightly elliptical profile. The difference is subtle, but little details and touches add up.
Layout marks for rounding over the horns.
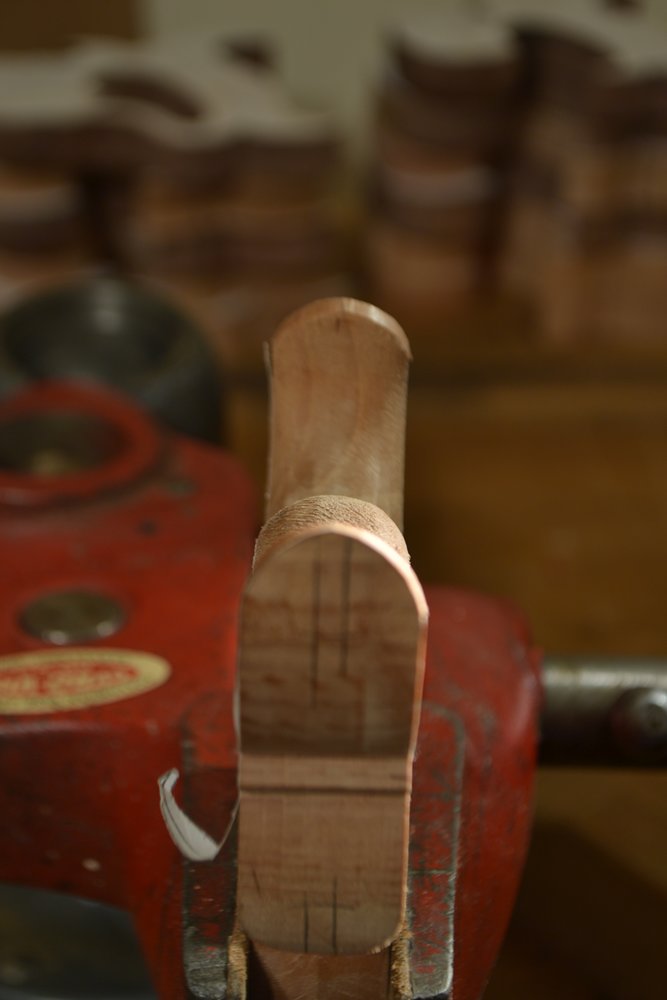
Horns rounded over. The “Vixen” file makes quick work of this task.
I begin roughing the grip out by connecting the line on the face of the handle and the nearest line on the edge. On this chamfer, I draw a line along the midpoint, then connect that line and the one drawn along the original center. This second chamfer is somewhat rounded, particularly near the centerline, so as to give a smooth curve. Most of the work up to this point is done with the large Iwasaki file, although the smaller files and rasps are useful around the horns.
First chamfer completed, layout for second.
After these chamfers are completed, I use the handle maker’s files to smooth and blend the curves to a pleasing profile. Then I do the same with the other side.The horns hinder shaping the curves by eye, save for one vantage point, so fairing the handle to a symmetrical curve must be done by touch.
Second chamfer completed and blended into first.
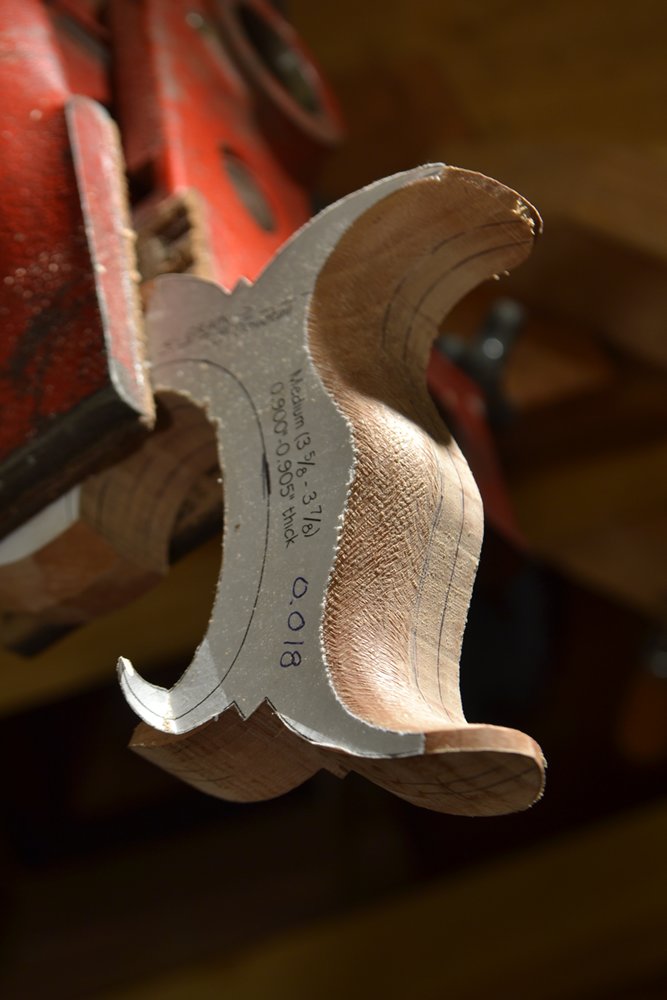
Both sides chamfered and blended to create a smooth profile.
The lone point where the profile is clearly visible. All other areas must be faired by touch.
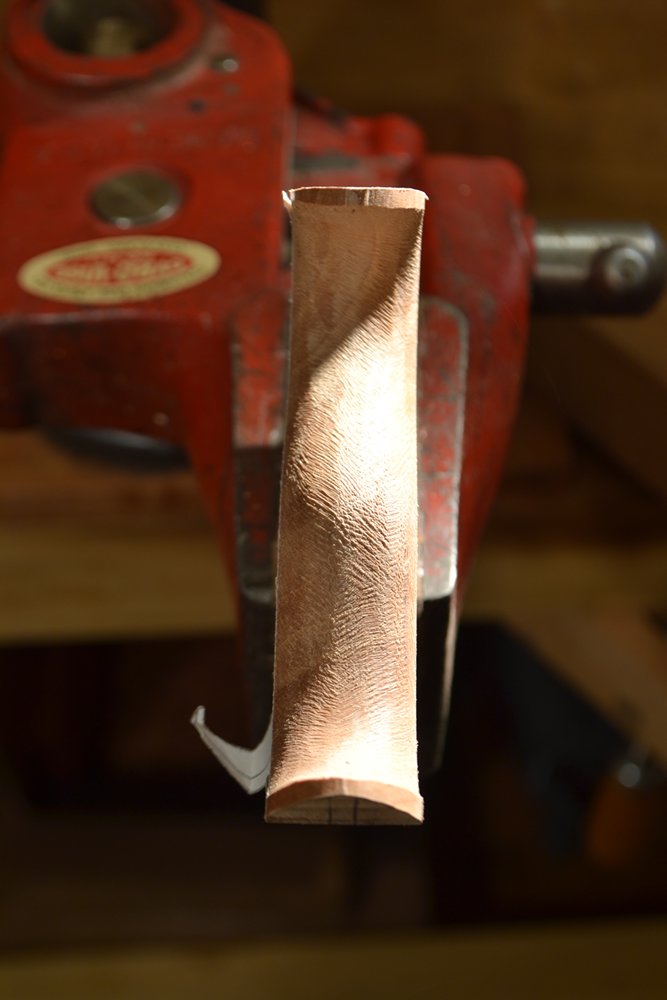
When the outside of the grip is shaped, the inside is done in the same manner. Most of the work is done with the handle maker’s file; this is exactly the type of work they are meant to do. With this done, it really feels like a functional handle. Indeed, it would make a serviceable, albeit rough, handle. But there is a lot more potential beauty inside, so further refinement is warranted.
Both inside and outside curves roughed in.
Isaac I googled handle makers file with out a result. Whee can these be found?
Paul, I use two different rasps. The first is from Tools for Working Wood, and the other is from Liogier. Both work well, but they each have a different shape that is better suited for certain areas of the handle. They are very close in terms of value and quality, so I can’t recommend one over the other.
The Liogier is available in different grains. I have the 9, which removes material fast but leaves a rougher surface than the Gramercy. If you only buy the Liogier, I recommend the 12 grain stitching.
Isaac
Isaac:
I bought your 10″ dovetail saw kit in April in Oldwick at the antique tool show/auction and am just getting around to it now. I am using wood from an apple tree that I planted with my father 45 years ago. The tree came down in Hurricane Sandy and I got a few small boards from it (but plenty for handles). Anyhow, I used the pattern to cut out the handle and am up to the slot cutting step. If you didn’t have a slot cutter how would they cut the slot to ensure that it lines up correctly?
Thanks,
Adam
Adam,
Sorry to hear that your tree came down, but as woodworkers that is always a bittersweet event since it can, in a sense, be the beginning of a new life for it.
The best way I have seen is outlined by Matt Cianci (Matt’s site is no longer there; here’s a link to the web archive page of this post)on his blog. I have done it this way before, and its only disadvantage is speed, which is not a concern for you.
Just take it slow and follow the kerf you made when you finish it off. It should go without saying that you would be well served by doing it afew times on scrap first to get a feel for it before you attempt it on the real thing.
Isaac
Simple….Thanks!
Elvin,
If you’re just ordering one or two, McMaster-Carr is where I would look first . Buy the blade with the fewest teeth possible, and experiment with it before using it on your handle. It’s very easy to heat the blade up and end up with a slot wider than the blade.
You can also search on eBay for the blades. If you’re able to find the correct size, it’s often cheaper than buying them from a retailer, but the savings aren’t usually enough to justify the time spent ferreting them out.
Regards,
Isaac