
This is the eighth entry in a nineteen part series that covers the construction of one of my saws from start to finish. For links to the other entries, please see the full chronological index. -Ed.
Sanding the handle
I can’t believe I am actually writing about sanding. I long ago moved to scrapers (when possible) in my general woodworking projects, but have found sanding to be a necessity in handle making. Still, I hate sanding.
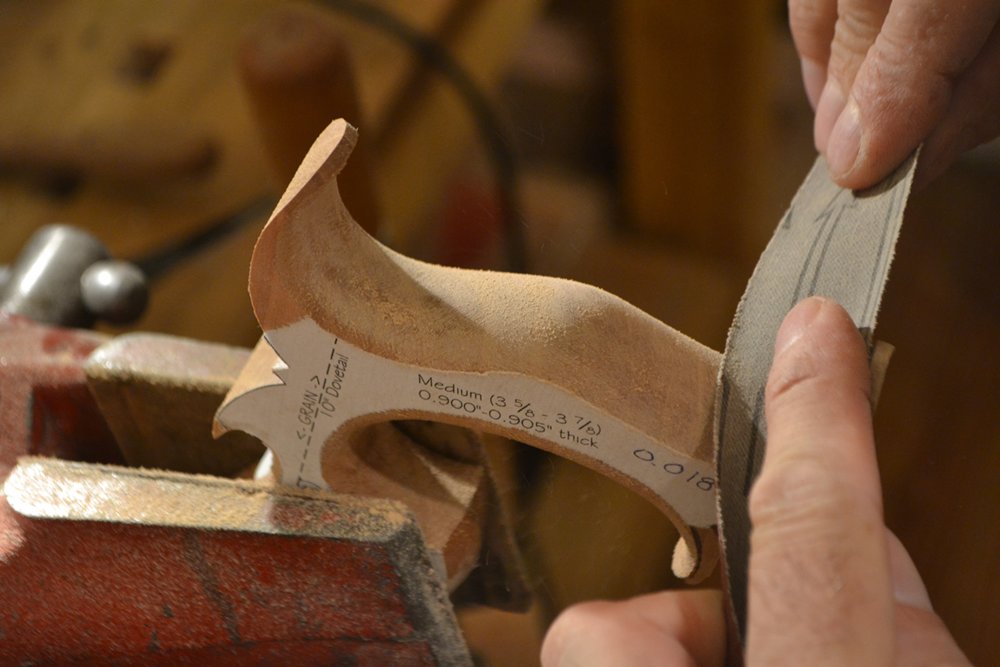
I use cloth backed sandpaper, torn into narrow strips, for all of the sanding on contours. It is available in a wide variety of grits and backings, but I just buy a bargain box from Klingspor. As long as you don’t have a specific need, it can be a terrific deal. It’s a wonderful thing to not have to wring out every last bit of life from every scrap of sandpaper – as soon as a strip begins to clog, it gets tossed. A small luxury, perhaps, but anything that lessens the tedium is welcome.
There’s not a whole lot to it. Just keep the sandpaper moving around so as not to create facets. I generally begin at 100 grit and work my way up through 320 or 400 grit.
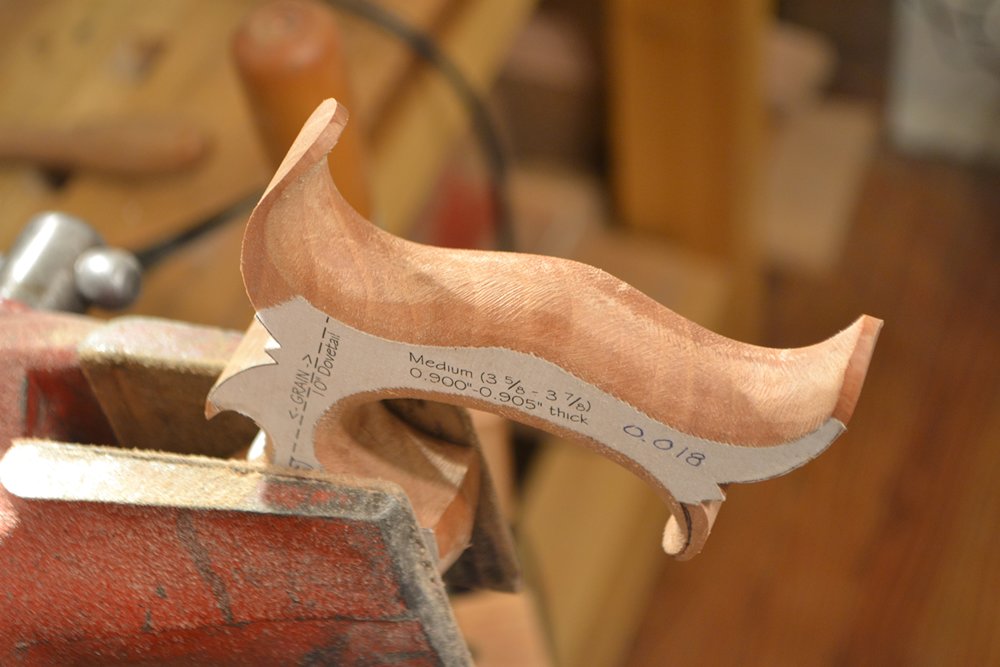
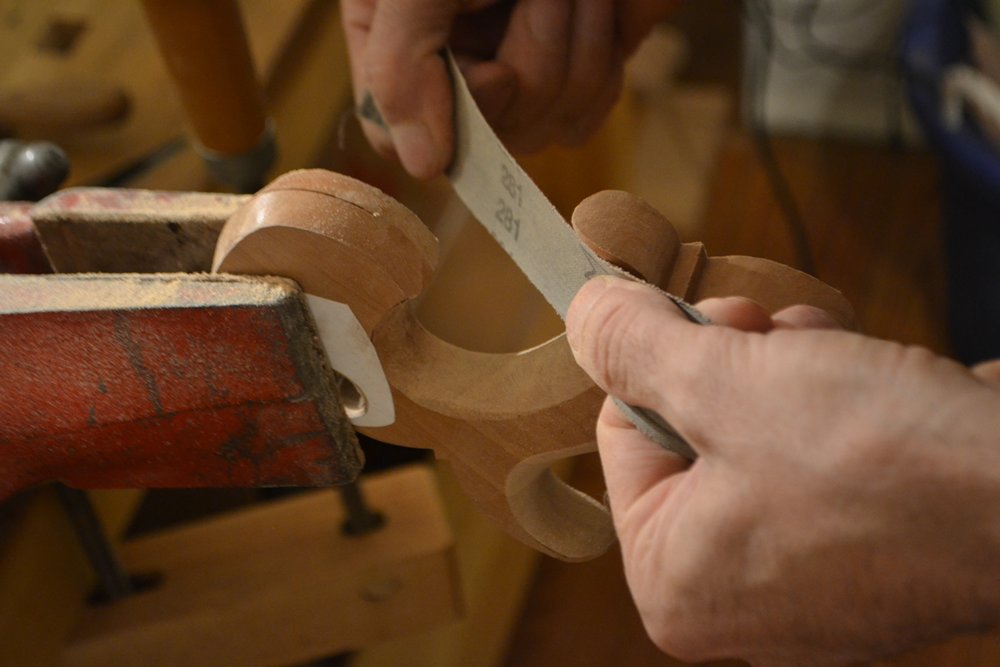
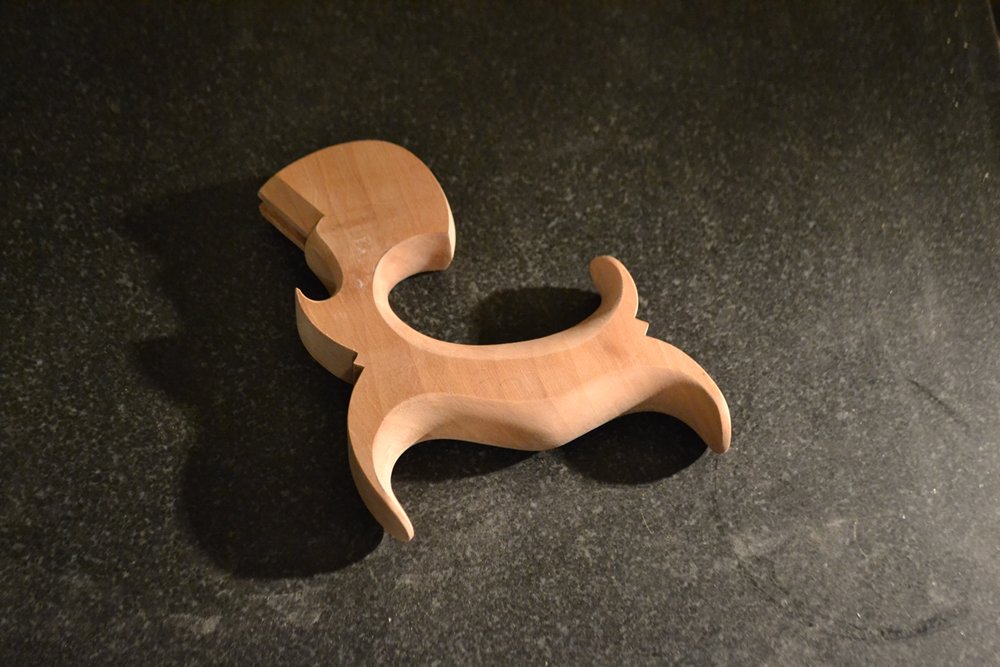
Fresh from the file, this is the starting point.
What’s the best way to sand this? Get Rhythm.
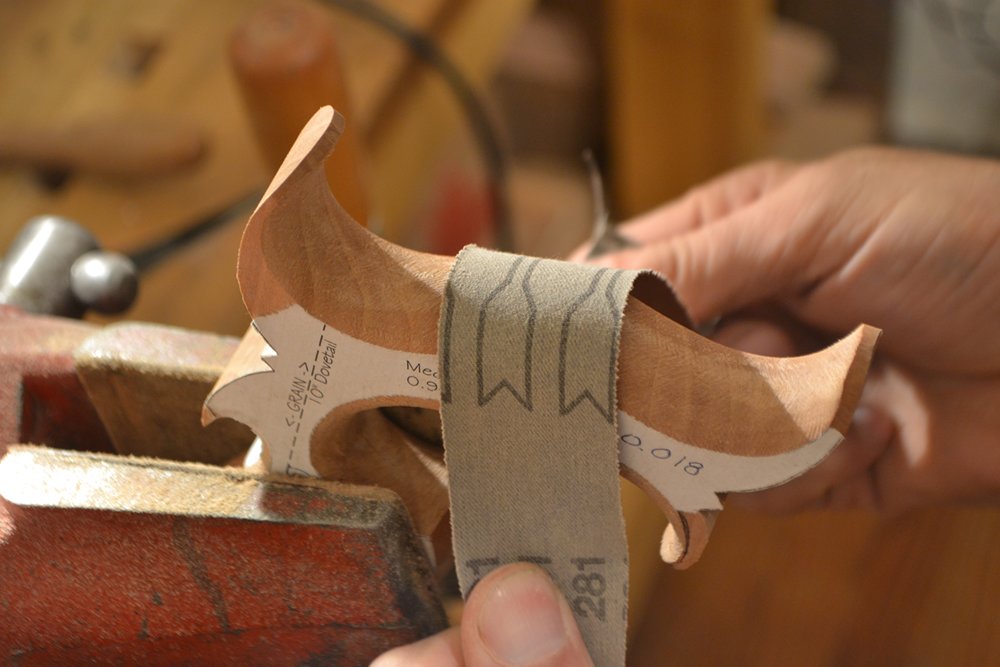
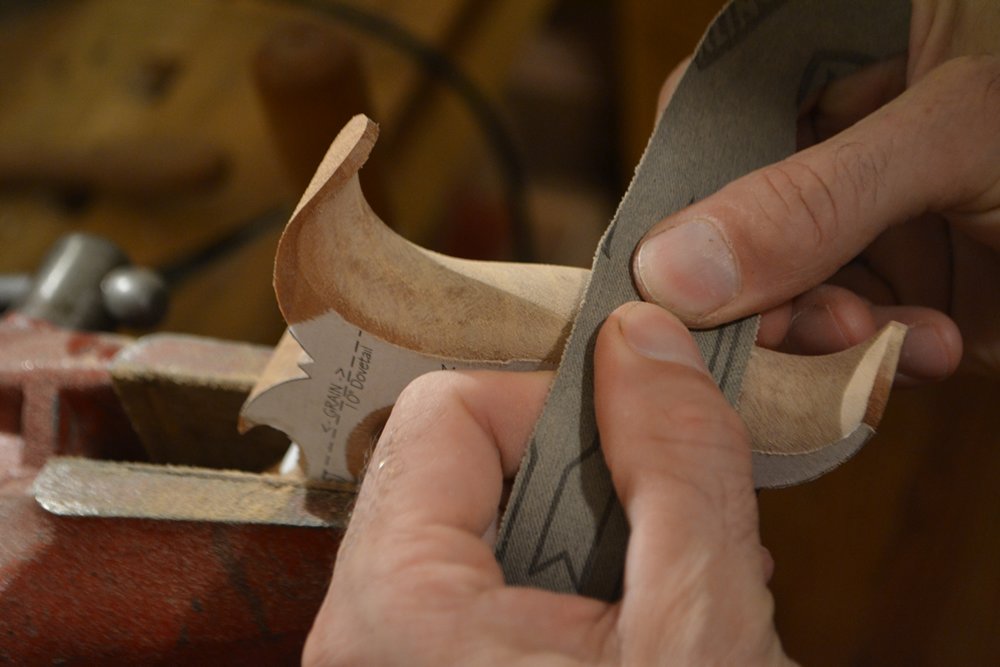
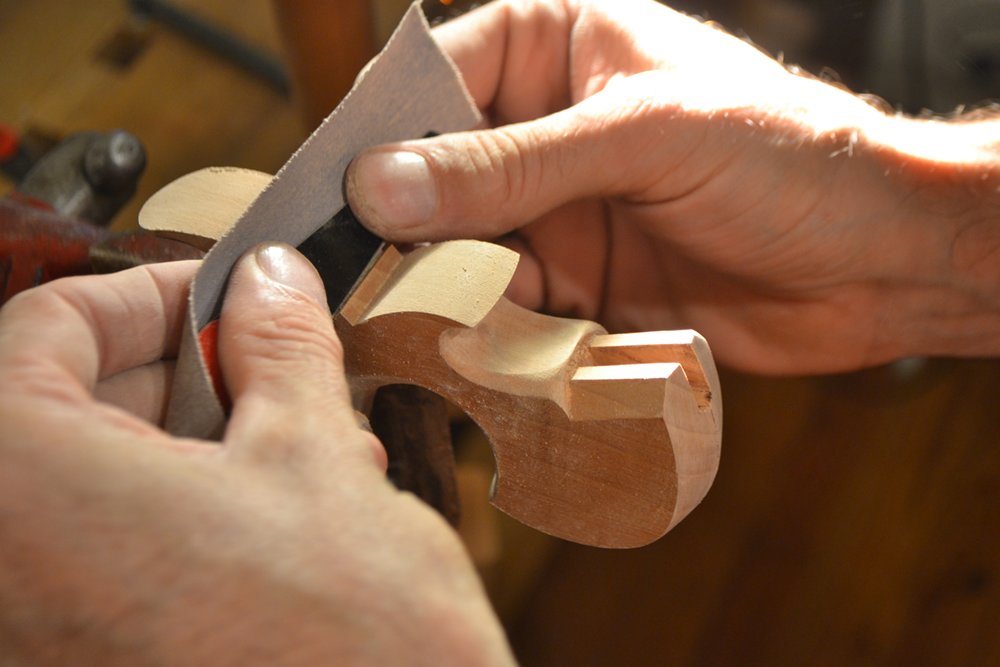
Detail sanding.
More detail sanding.
And even more detail sanding.
Knocking down a high spot.
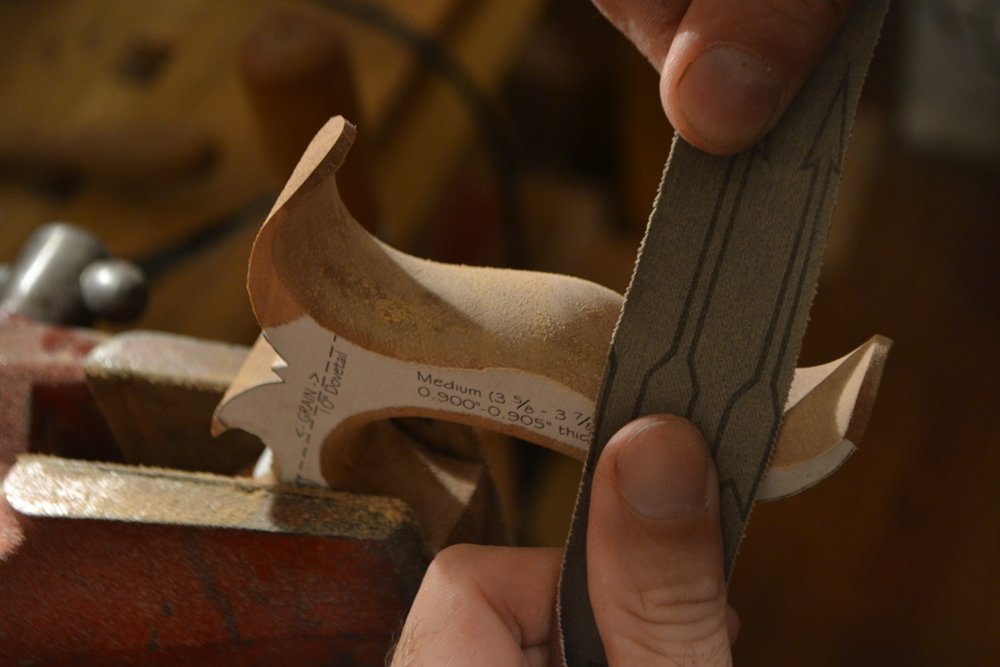
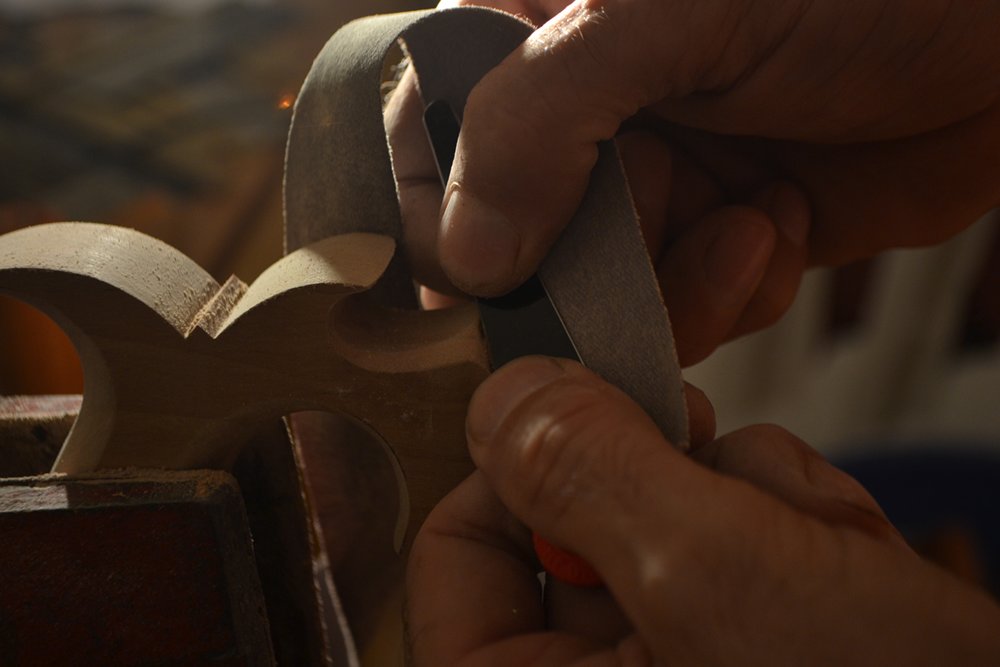
Sand from a variety of angles and directions to blend all of the curves together.
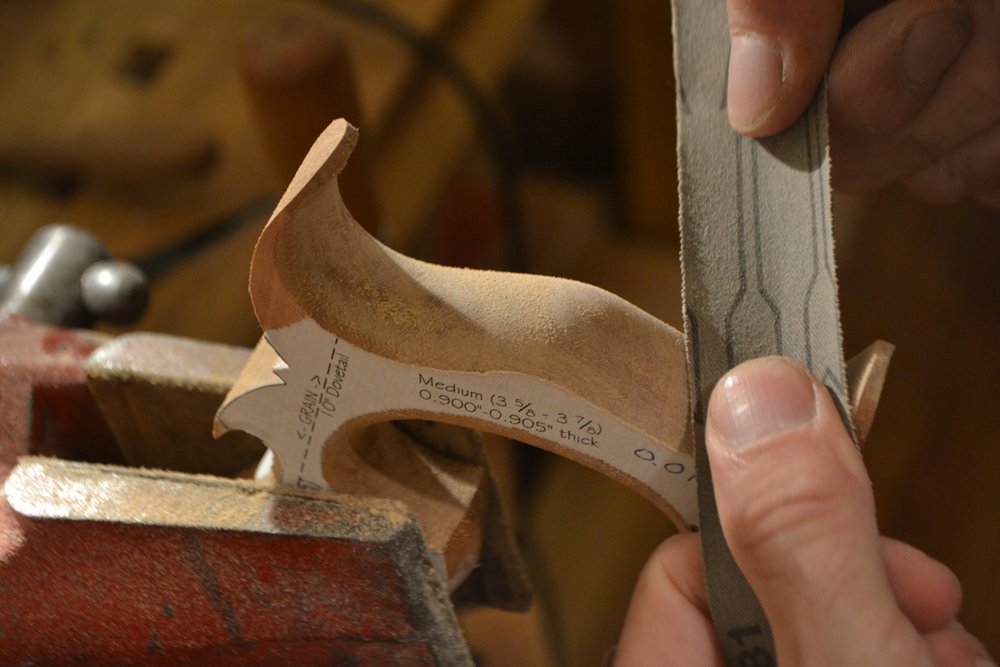
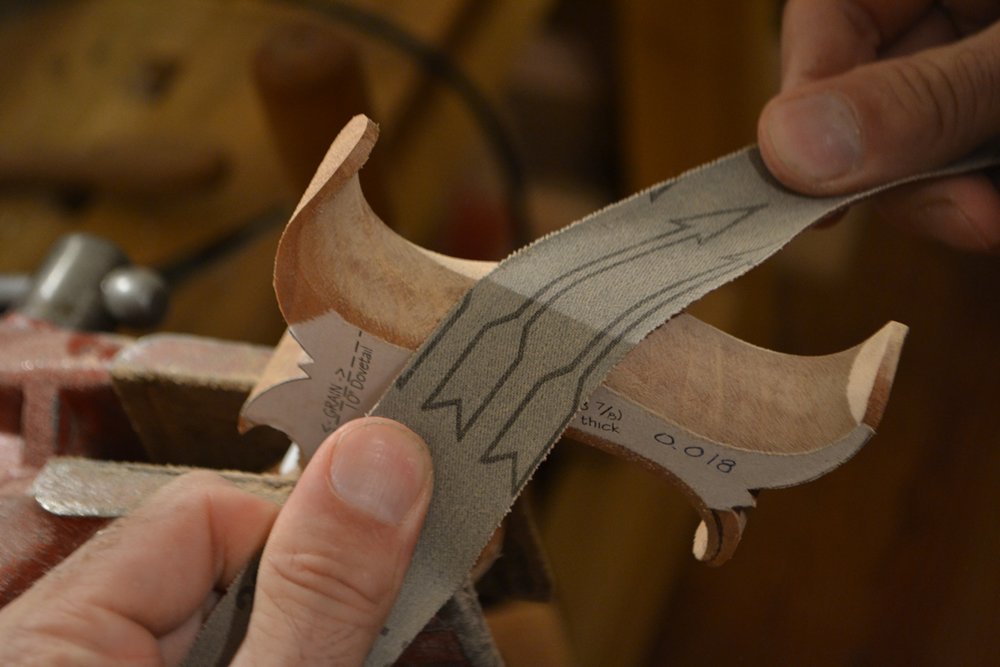
Sanding the inside curve is about the same as the outside.
Some of the inside curves are a little tight.

Sanding the edge of the horn.

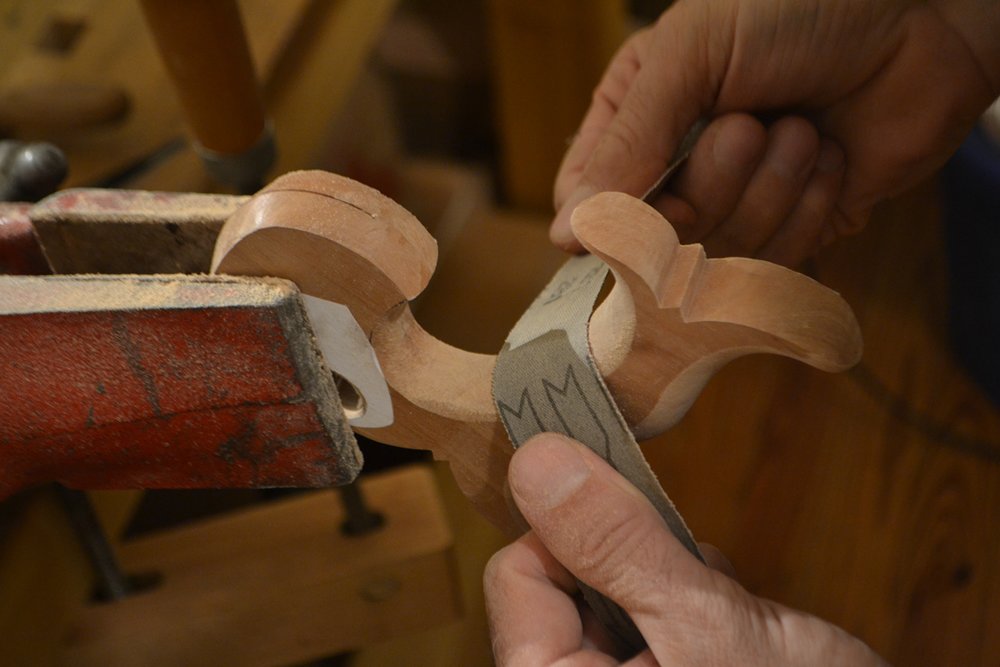
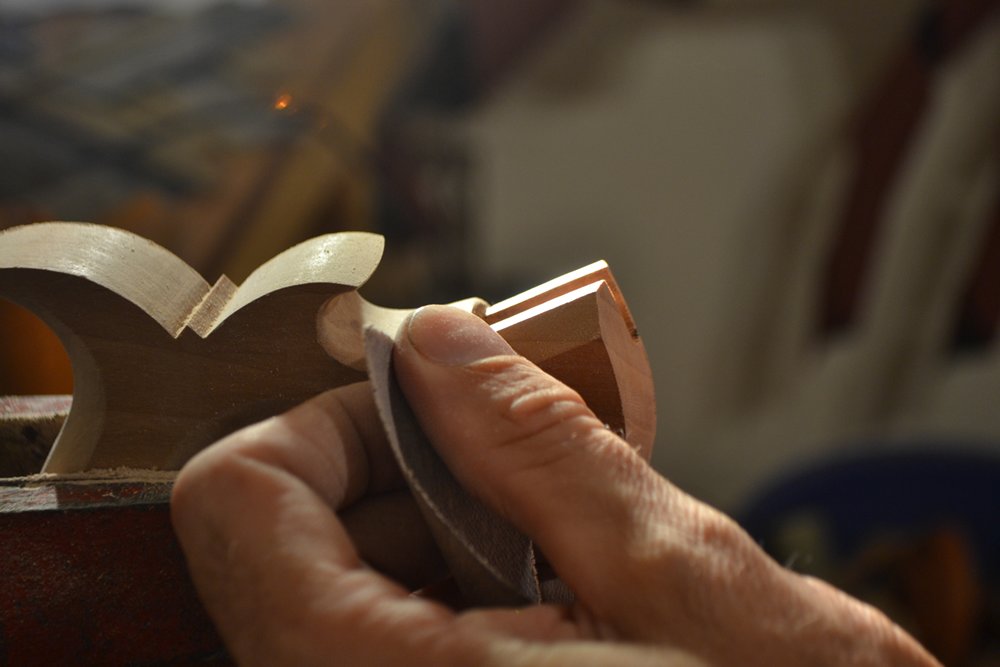
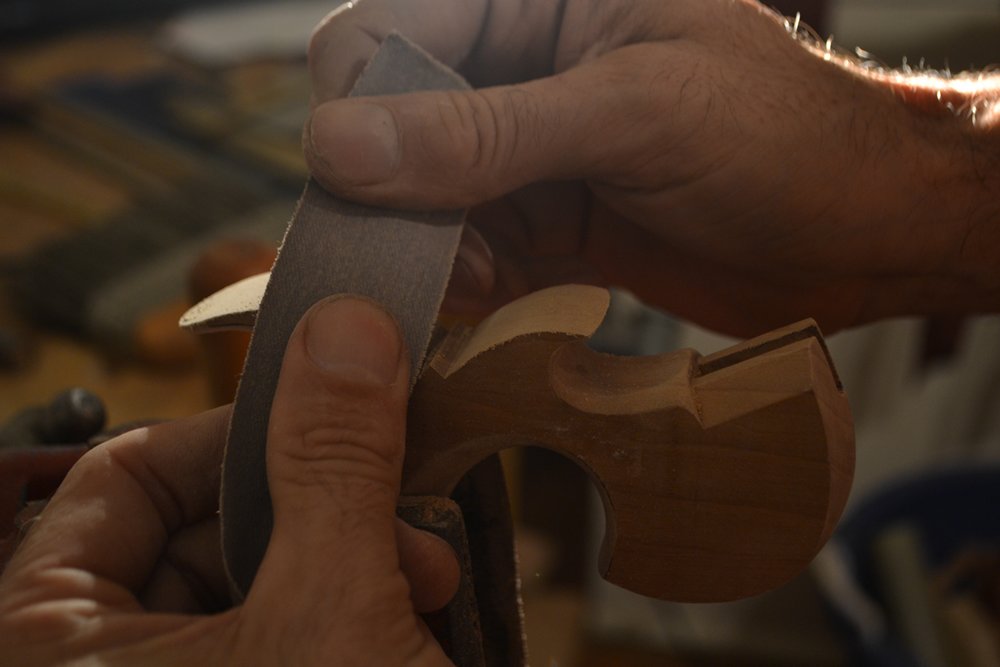
I back the sandpaper with a strip of metal when I sand the chamfers…
…and when I sand the horns…
…and the chamfers. I usually start sanding these at a higher grit than the curved surfaces, as the Vixen files leave a more finished surface than the rasps.
Sanding the lamb’s tongue transition.
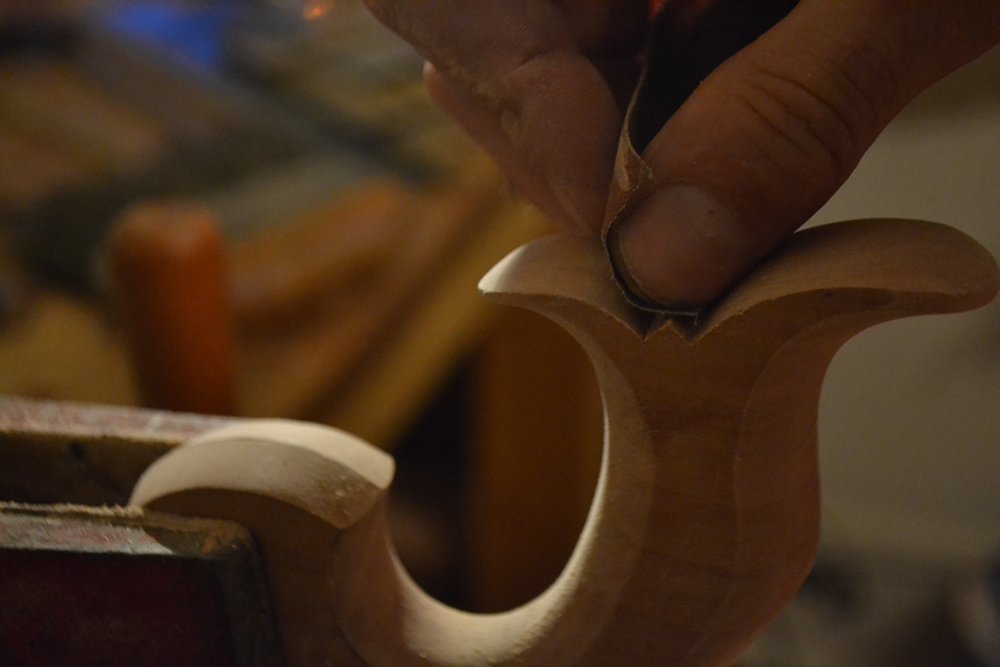
I usually round over the tips of the nibs so they are not so fragile.
The last thing I do is break the edges with a fine grit.
Looking at the handle from a variety of angles and with raking light can highlight missed areas and stray rasp marks.
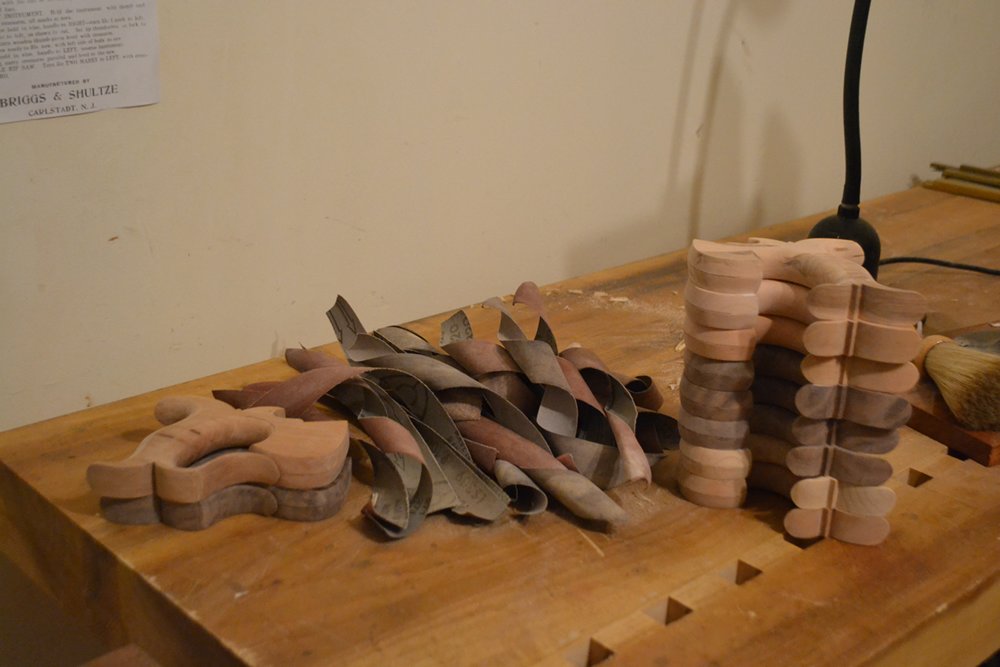
This is why I buy sandpaper in bulk.
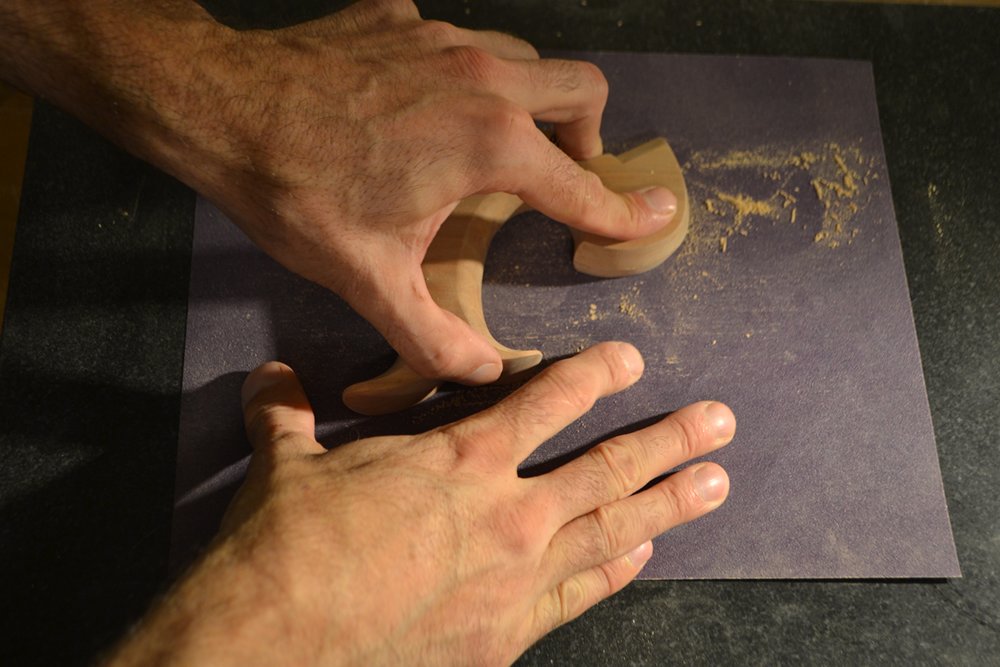
After the contours and edges are sanded, I move onto the sides. This is the one part of sanding that I do enjoy; it’s almost exciting to see the final contours emerge as the grime and scratches from handling the wood are removed.
I use sheets of sandpaper laid on a granite surface plate. Great care must be taken to keep the sandpaper flat on the surface to prevent rounding over or dubbing the leading edge of the handle. My preferred paper is 3M’s No-Slip Grip sandpaper. It is available in a full range of grits, and has a slightly tacky backing that hugs the granite. It costs slightly more than conventional sandpaper, but lasts a long time (the single sheet in the picture below has sanded about two dozen handles, and still has some life left).
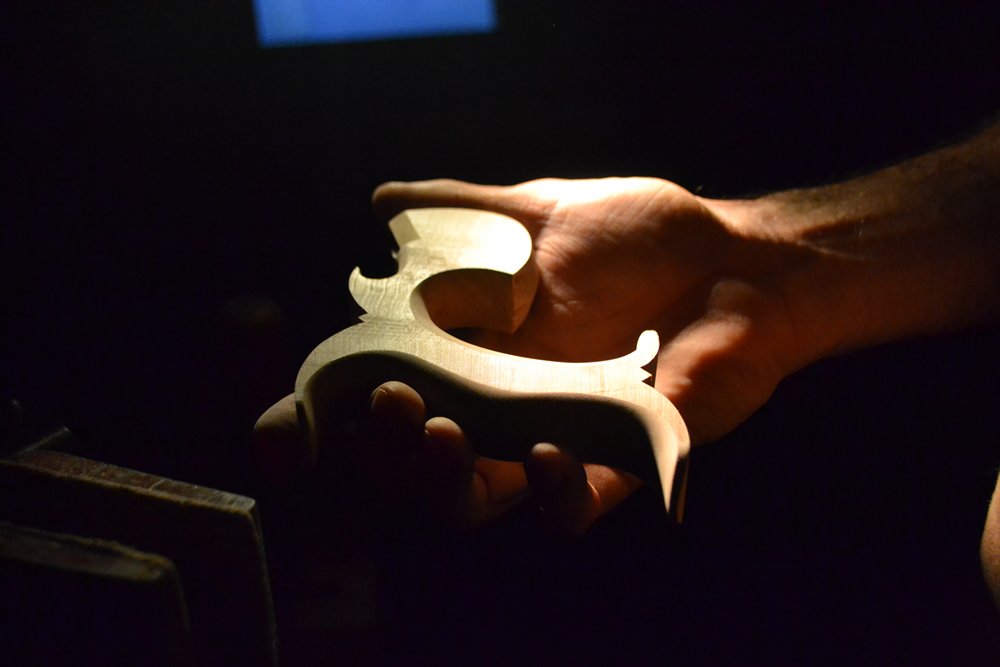
This is the handle after working though 320 grit on the curved surfaces, but before sanding the flat sides.
Sanding the flats. Take care that the sandpaper does not raise up and dub the edges.
Sanding in this manner gives nicely rounded contours that are pleasantly framed and contrasted by well-defined flats. George Wilson put it well when he said that the resultant curves are reminiscent of calligraphy. While the lines look crisp, they are nearly imperceptible to the hand in use.
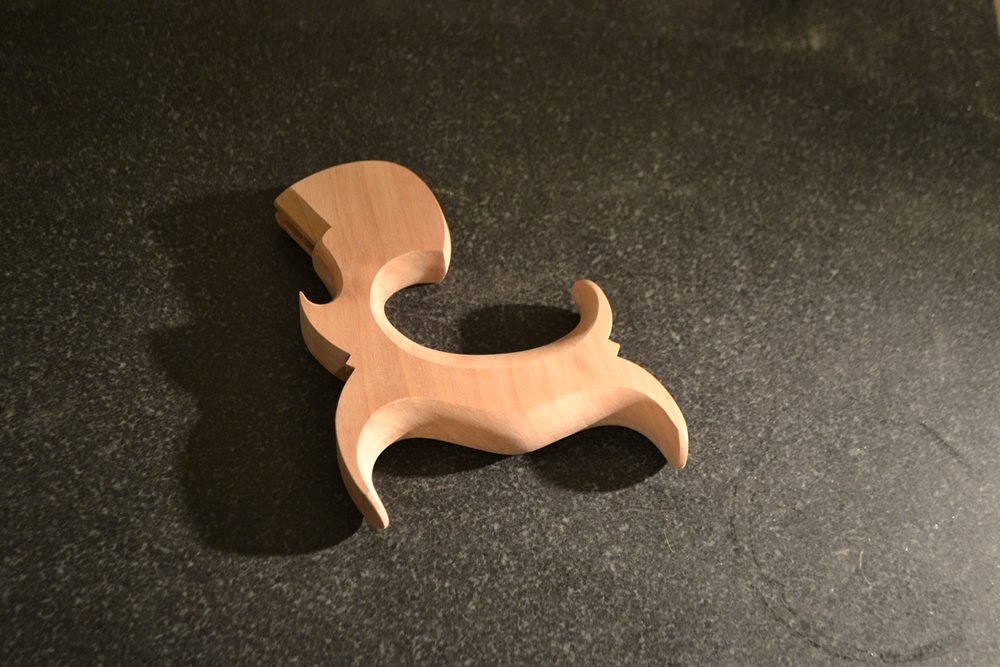
The handle after sanding through 320 grit.
The sanding is not yet actually done. After drilling for the saw nuts and bolts, I will sand one final time with 360 or 400 grit immediately before finishing.
The 3M sand paper link wants a username and password
Darren,
I think they changed that page, so I updated the link to another one. Thanks for the heads up!
Isaac