The motor
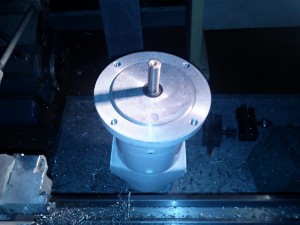
To power the milling attachment, I bought a 1725 rpm 1/4 hp DC motor on eBay. My brother sent me a DC drive unit for the motor, which gives me the luxury of variable speed (from about 35 to 2000 rpm) and reversible rotation.
I decided to mount the motor behind the milling attachment. This simplified construction and reduced the weight of the attachment (there is some concern that the weight of the attachment will distort the lathe bed). By mounting the motor on a shelf behind the lathe, I also gained some valuable real estate for tool storage.
The motor will transmit power to the milling head with a flat leather belt. Using a flat belt will allow the motor to remain stationary while the milling head travels up or down (the belt is free to traverse the length of the milling head pulley).
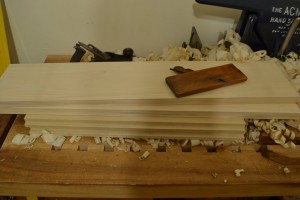
Construction of the shelf was straightforward. Sadly, building this shelf was the most woodworking I have done in many months. I used 5/4 poplar, and simply dadoed the sides and screwed the shelves to them. Fine woodworking it isn’t; sturdy it is.
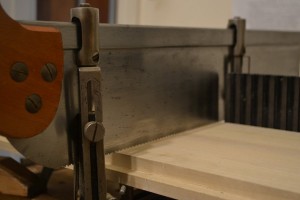
Preparing to dado the sides. Begin by setting the depth stops on the miter box so that the teeth just touch the top of the board.

Remove the board and place two shims on the bed. The depth of the dadoes will be equal to the thickness of the shims.

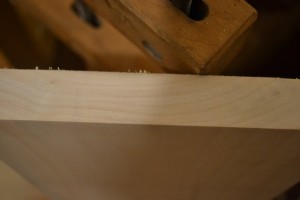
Place the board on top of the shims and saw the shoulders of the dado until the saw bottoms out on the depth stops.
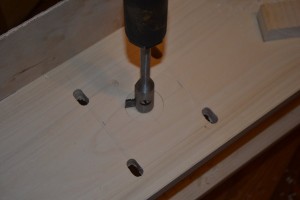
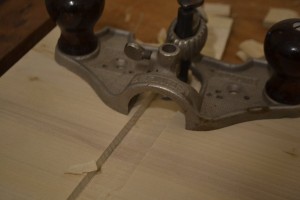
Drilling the holes for mounting the motor. I used an expansive bit to drill the hole for the motor shaft.
The back of the shelf unit is 1/4″ plywood, and is nailed to the sides and shelves. It is attacked to the bench top with wood cleats.

