
For the past month, I have been sporadically working on the Burr toother I bought in January. While the machine had little wear, it did need some attention. The most pressing need was to sharpen the punch and die. A few minutes on my friend’s grinder took care of that.

Grinding the die.
When the grinding was done, I mentioned needing a new motor for it. I should have known that he would have the perfect one for this machine – a 1/4 HP Wagner, decades older than the machine itself, with classic cast iron styling. Weighing in at over 30 pounds, there is nothing frail about this motor.

This has no particular relevance, but you have to appreciate the beauty and durability of this nameplate.
Other than a light cleaning, the machine itself needed no real work. The design is simple, rugged, and machined to very tight tolerances. A few new bolts and nuts and a spring were all that was needed to bring it back to good operating condition.

Broken down, cleaned, and ready for reassembly.

Setting the clearance between the die and punch. I used a sheet of newspaper for a shim.

Marking out the scale for rake angles. The toother can be set for any rake angle between 0 and 30 degrees.

Another view of the toother and motor.

The finished toother.

The back side of the toother and motor.
The carrier and ratchet bars were a little rough, and only went as fine as 11 ppi. Since most of my saws are more finely toothed than that, I had a new set of ratchets and carriers made. Unlike the original ratchet bars, the new ones are double-sided, and are cut for 9, 10, 11, 12, 13, 14, 15, and 16 ppi. By skipping every other tooth, they can also do 5, 5 1/2, 6, 6 1/2, 7, 7 1/2, 8, and 8 1/2 ppi, respectively. Yes, the math to come up with those numbers makes my head hurt, too.

The new carrier and ratchet bars.

The carrier is made in two pieces, then spot welded together.

The stop that the ratchet bars butt up to. Unlike the original ratchet bars, the new ones are double-sided.

A ratchet bar in place.
Since the new carrier looked so much better than the old, I needed to make new clamps for it. These are made from bronze bar, with a milled slot for relief and clearance, and have brass studs soldered into them.

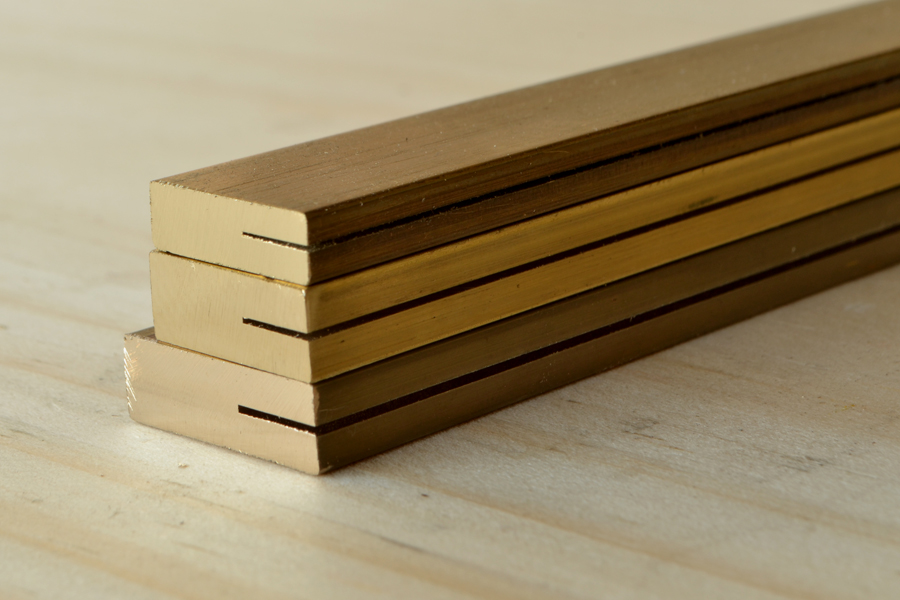
Bronze bar for clamps, after milling and tapping.

Bronze bar cut into lengths, with threaded rods.

Threaded rods soldered into bars.

How the clamps work.
With all of the hard work done, there was nothing left but to spin it up and punch a few teeth. The first video shows the toother on a dry run. The second shows me toothing a scrap piece of saw plate to 10 ppi, and the third is a dimly lit closeup view of the punch. Because they were taken before I got the new carrier back from the welder, I used the old carrier bar. It works exactly the same as the new, but the new looks much better doing it.

Test plate after toothing.

Closeup of test teeth. The rake on this is about 30 degrees, which is rather relaxed.


