This is the seventeenth entry in a nineteen part series that covers the construction of one of my saws from start to finish. For links to the other entries, please see the full chronological index. -Ed.
Straightening the blade
Seldom is a saw plate flat enough to send out without doing some work on it. There are typically three distinct deformations that must be dealt with. If we think of the blade as a board, these defects can be labeled cup, bow, and twist.
Cup is seen as a gap when a straightedge is held alongside the blade, running from teeth to spine.
Bow is seen as a gap when a straightedge is held alongside the blade, running from the heel to the toe.
Twist is checked for by placing the blade on a known flat surface, and is visible as a gap somewhere along the toothline.
I deal with each of these defects individually, and in the order listed above. Trying to correct them all at once, or in a random manner, can be a frustrating experience.
Cup: This defect exists in most blades as a remnant of the steel manufacturing process. To correct cupping, I bend the steel so that the concave side is stretched. It usually takes several repetitions and bending in several places to fully flatten the plate. This is a process that is similar to hammering, or smithing, a saw blade. In both cases the goal is to stretch one side of the plate to make it bend in the opposite direction.

Checking for cup. In this example, the side being checked is concave.
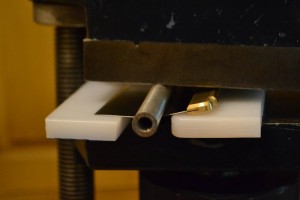
Removing the cup by stretching the concave (bottom) side. I use plastic and aluminum to avoid scratching or denting the blade and back.
Bow: This defect also exists in most blades as a remnant of the steel manufacturing process. Unlike cupping, most of it is counteracted by the stiffness of the back. However, the back itself often has some bow that must be removed. After checking for bow at the back, it is easily removed by bending the back with my hands, either across a hard corner or my thigh.
I do not check for bow at the toothline, as it cannot be corrected by bending the back in this manner.
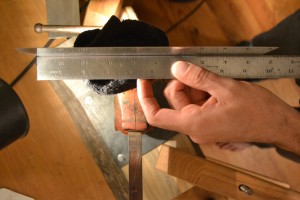
Checking for bow. In this example, the side being checked is concave.

Removing the bow from the spine by bending it. I support the blade at the center of the bow (concave side up), then push down on both sides until the bow is removed.

Checking again for bow; this one is good, and ready to check for twist.
Twist: This defect has three causes: a twist in the saw blade itself, a twist in the back which is magnified by the height of the saw blade, or the slots for the blade in the back and the handle not being coplanar. Of these three causes, misalignment of the handle and back slots is the most difficult to overcome. If the problem is more than a minor one, it is best to either accept imperfection or begin work on a new handle. There may also be some residual bow left in the blade, but this is usually corrected when the twist is removed.
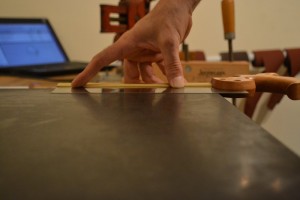
I check for twist by placing the saw blade on a surface plate and inspecting the toothline for lifting along the edge. With the handle in place (but not bolted on), check for flatness from both sides.
When you have identified a twist in the blade, make note of where it begins and in which direction it twists. The twist typically starts where the blade begins to lift off of the surface plate. We will place the back in a vise (preferably in jaws lined with leather or soft metal, and further protected by a rag), with only the twisted section of the back and blade projecting from the jaws.
In the first picture below, the twist (which I have exaggerated for clarity) appears to increase evenly along the entire length of the blade. I will clamp only the last inch or so of the back (the portion that is in the handle mortise) in the vise, and since the twist appears to be constant, I will twist from the opposite end (near the lamb’s tongue).

Checking the blade for warp. Since the cup has been removed, and the blade is straight at the spine, any lifting of the corners at the teeth is due to twist.
To twist the spine, I use a handscrew tightened onto the back. In this example, the top side of the blade (in the picture above) is on the right (in the picture below). Since the handle end is held in the vise, I will rotate the handscrew counterclockwise to remove the twist.

Removing twist by twisting the back in the opposite direction of the twist.

Checking again for twist. This looks done.
Check from other side as well, as it is often easier to see from one side than the other.
After removing the twist, check again for bowing just under the back. The back is often bent slightly while twisting it, and may require straightening again. After straightening the back, check again for twist along the toothline. Much hilarity will ensue as you become frustrated with the near-infinite loop you have entered. To improve your mood, either hurl the assembly out of the nearest window (do open it first), or set it down and come back to it later. I promise that you will eventually solve it. [Which do you do? And why is it so drafty in here?-Ed.]
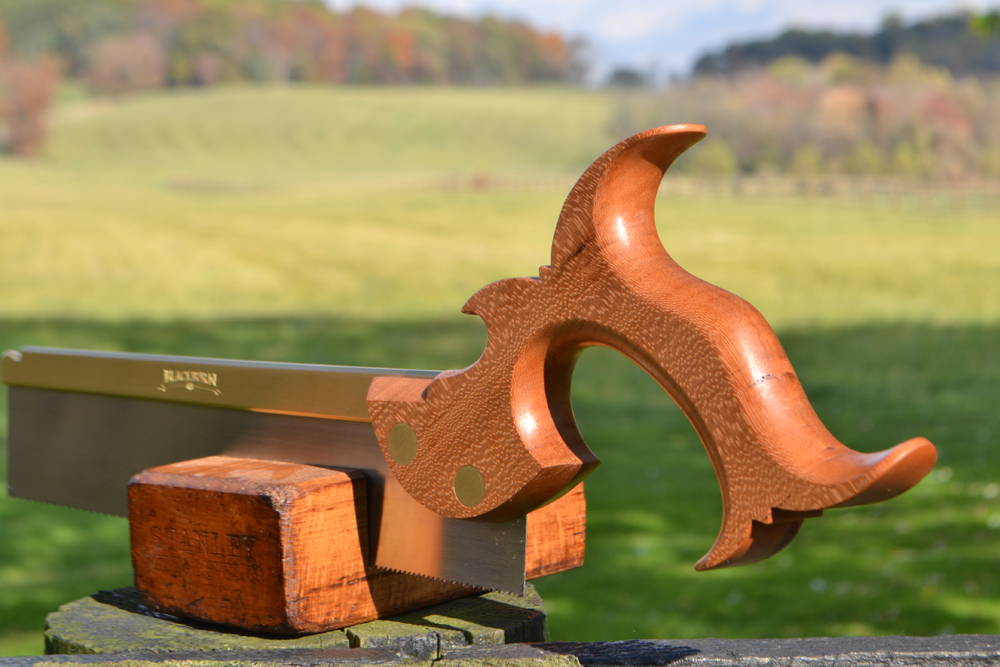
When the blade is fully flattened, I throw the handle on the saw, sit down, and take a break. Most of the hard work is done, and little is left to go wrong. For now, I am content to hold the saw and know that it is just a few teeth and bolts away from being a full-fledged saw.


