This is the ninth entry in a nineteen part series that covers the construction of one of my saws from start to finish. For links to the other entries, please see the full chronological index. -Ed.
Boring the holes for saw nuts & bolts
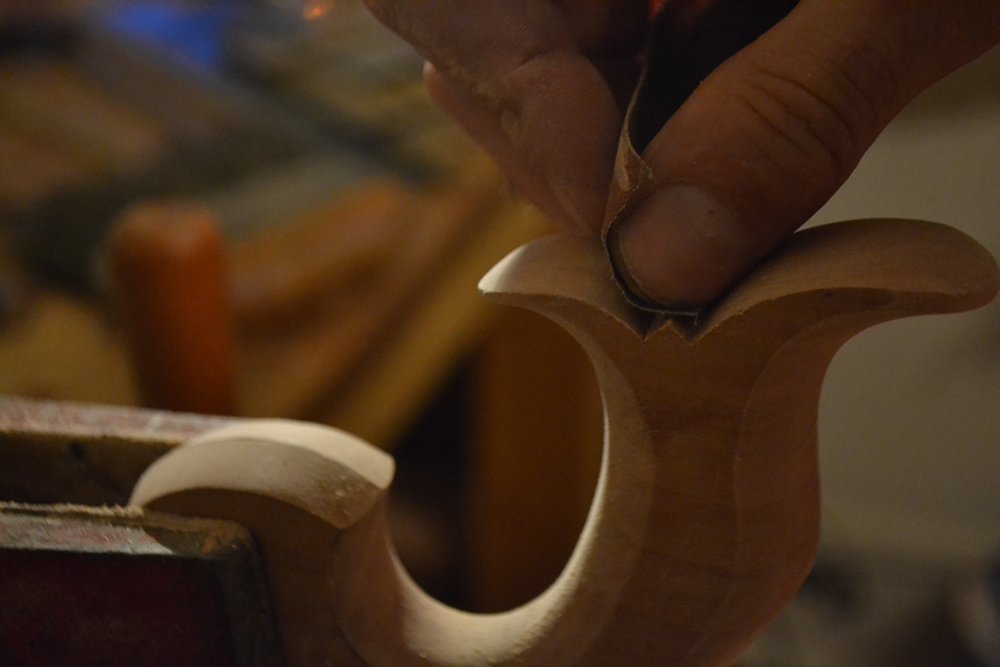
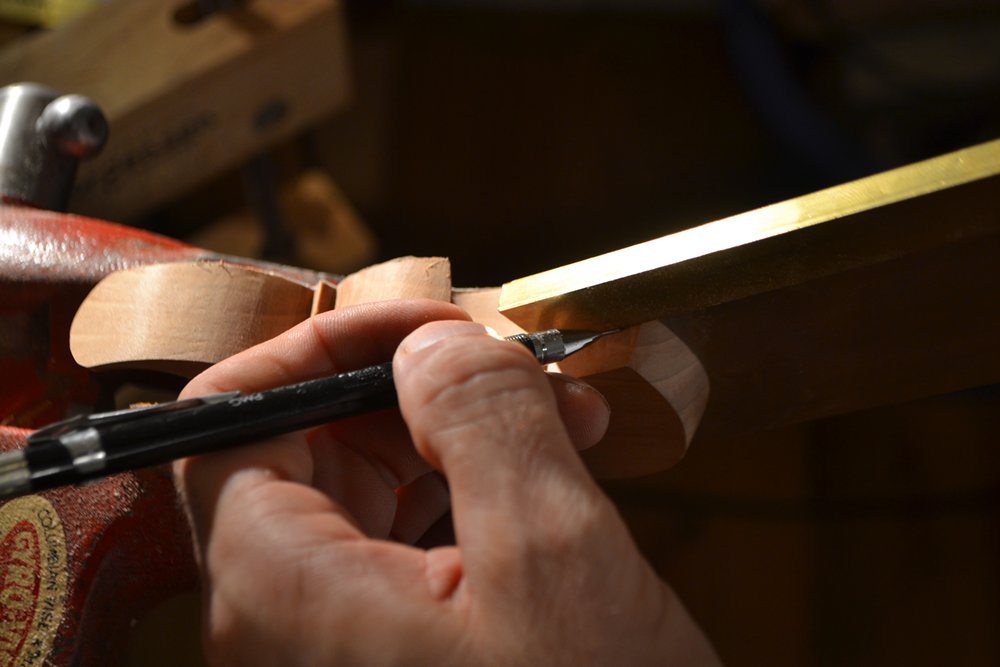
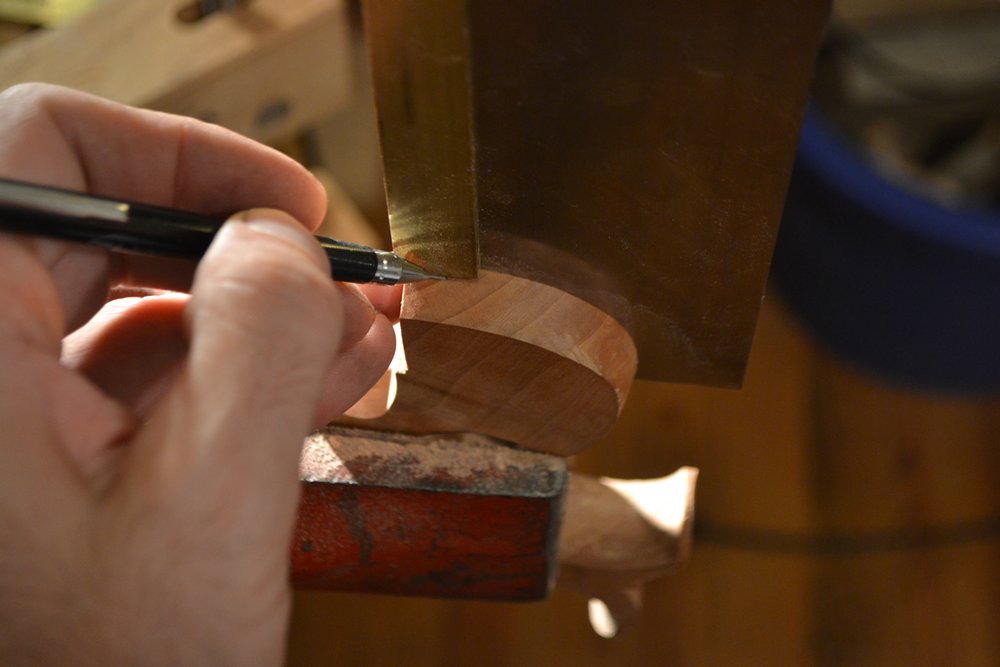
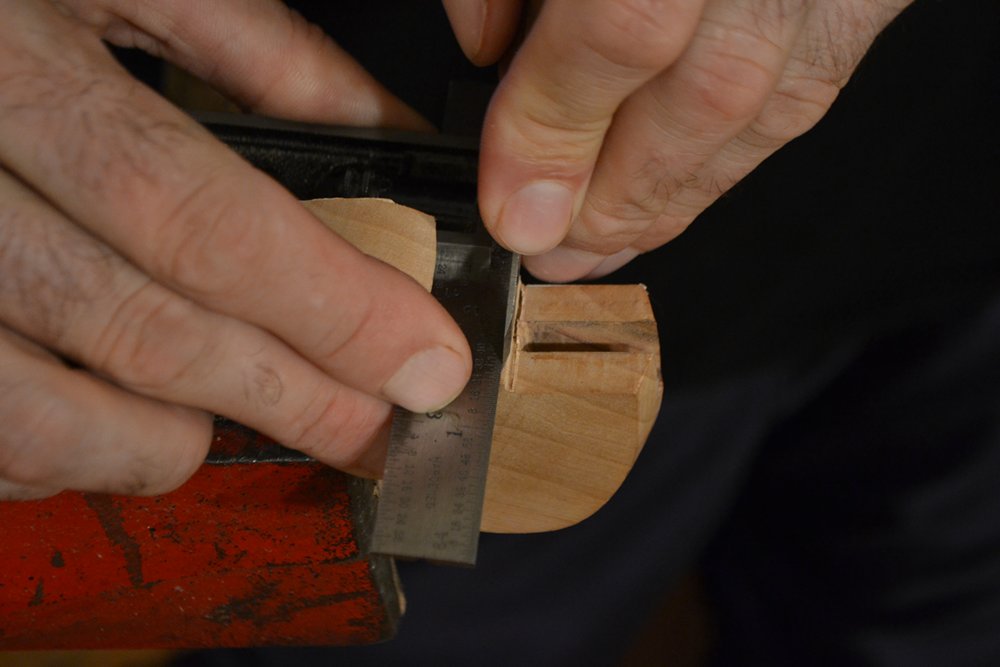
I must go back to a step that I failed to mention in previous steps. Before sanding the handle, and before removing the paper template, the bolt hole centers must be marked. I happen to use a Scrawl*, which is an excellent tool for the task, but any pointy metal object will work.
*This shameless plug was inserted at the request of the fine sponsor of this blog, who has a financial stake in the product. -Ed.

Marking the bolt hole with a Scrawl.
If you are not following an existing pattern or copying a handle, there are a few guidelines I follow for bolt placement. I thank Pedder (half of Two Lawyers Tools) for helping to crystallize my thoughts on this topic with his helpful critiques of my early saws.
For a saw with just two bolts, I find that the most pleasing arrangement has both bolts equidistant from the edge of the cheeks. For the most resistance against rotation, place them as far apart as possible.

Saw bolts are not equidistant from the edge of the handle.

Saw bolts are equidistant from the edge, but spaced a little too close together.

This is just right – bolts are equidistant from the edge and spaced about as far apart as possible.
On larger saws I use three saw bolts. I find that the pattern looks best when the bolt placement forms an isosceles triangle. While I used to keep two of the bolts equidistant from the edge of the handle, I now place one bolt so that it passes through the spine (thanks to Marv Warner for sharing his thoughts with me on this). While I think this adds a bit of strength to the saw, it is best to keep that bolt some distance back from the edge. Matching this edge distance for the other bolt looks awkward, so it remains closer to the edge.
If you do not place a bolt through the spine, then an alternative pattern with equal edge distances and that forms an isosceles triangle is possible.

Legs A & B being unequal, the bolt layout forms a scalene triangle, a pattern that I find unpleasing.

Legs A & B being equal, the bolt layout forms an isosceles triangle. As one of the bolts passes through the spine, the two outer bolts are not equidistant from the edge.

Legs A & B being equal, the bolt layout forms an isosceles triangle. As none of the bolts pass through the spine, the two outer bolts are equidistant from the edge.
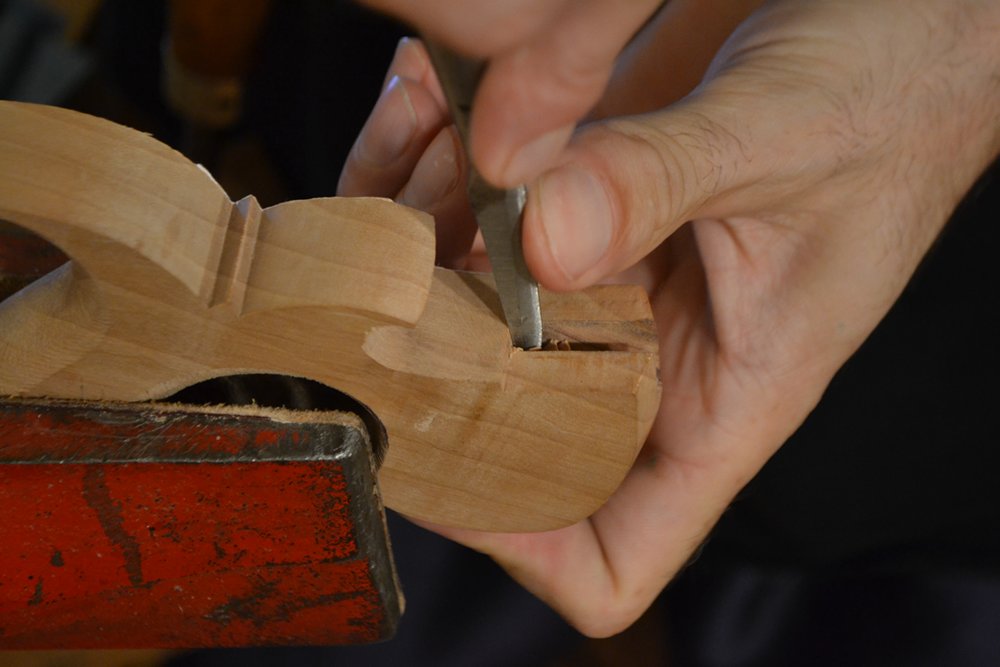
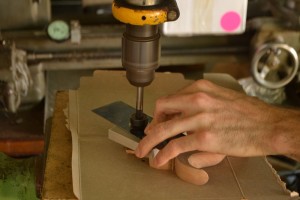
After marking the bolt locations and sanding the handle, I drill a 3/16″ hole through the handle. Since this hole guides the counterbores I use in the next steps, I use a high-quality brad point bit.
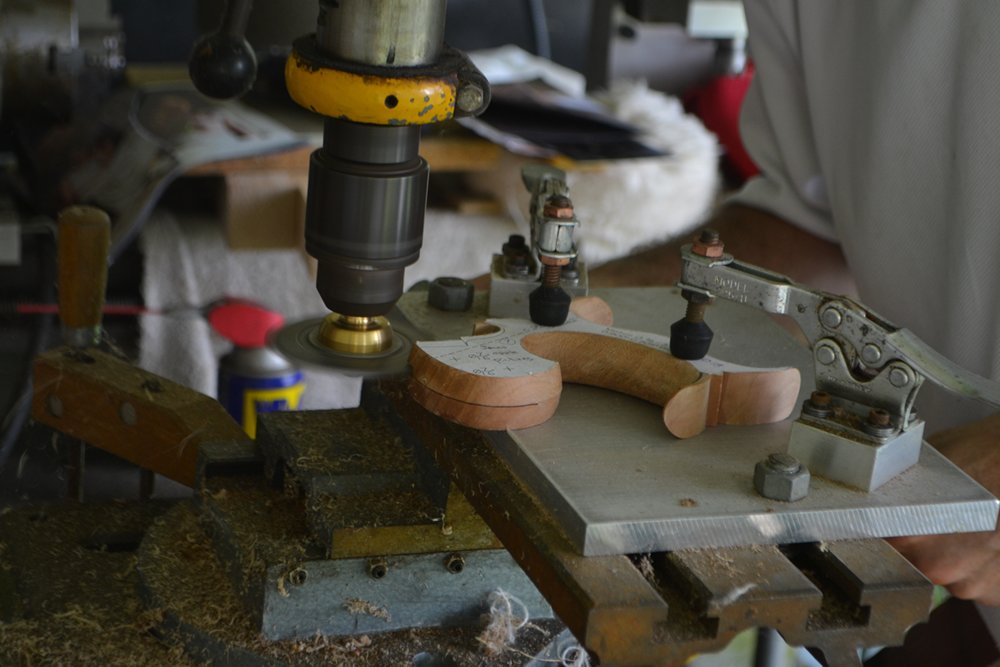
I use a piloted counterbore with a depth stop to bore the holes for the heads of the bolts and nuts. Although the counterbore is a metalworking tool, it leaves an excellent finish on wood. I use an aluminum block as a spacer to give the chips from the counterbore someplace to go. Without the spacer, chips cannot be ejected, and clog at the depth stop. The holes for the bolt and nut are both bored to the same depth; because I use a washer beneath the head of the bolt, it is machined slightly thinner so that both the nut and bolt will be flush to the handle when torqued down.
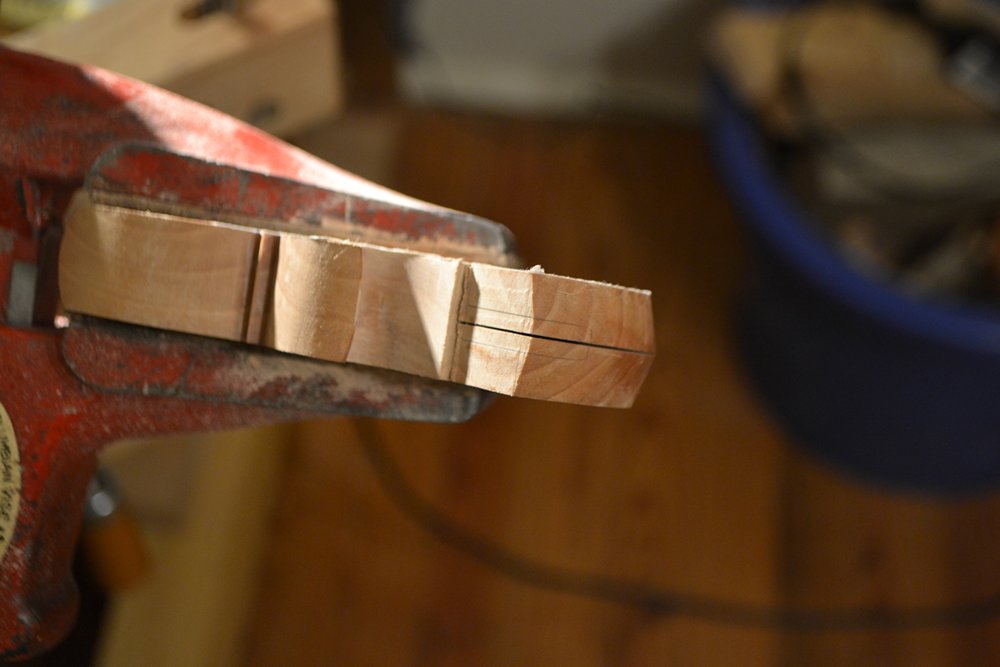
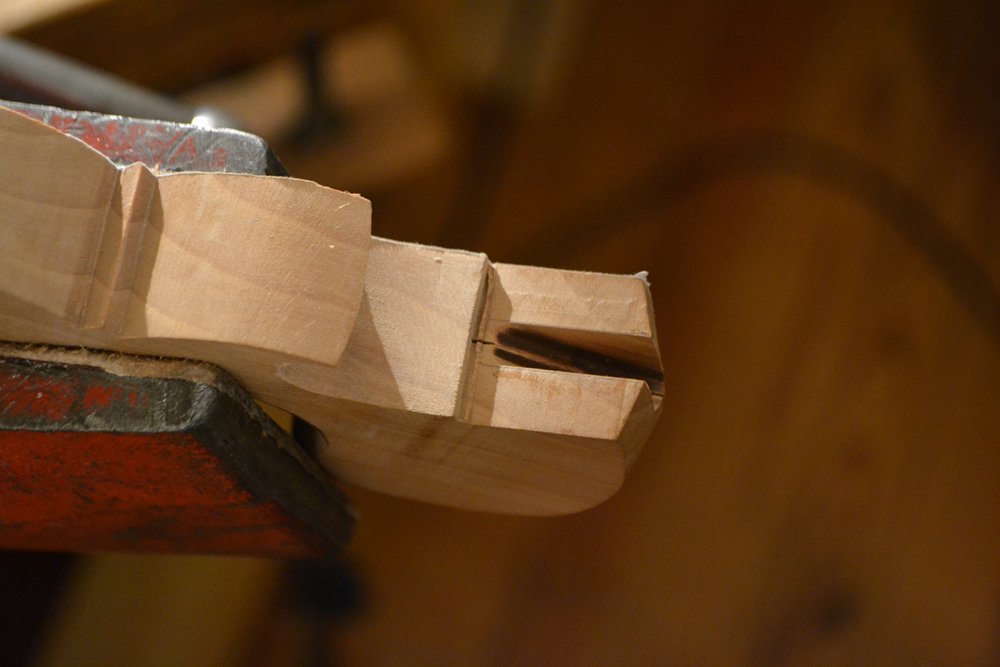
Finally, I bore a 1/4″ hole on the back side for the extended shank on the split nut.

Tools for boring, from left to right: wear plate, aluminum spacer, 3/16″ brad point bit, 1/4″ piloted counterbore with depth stop, 7/16″ piloted counterbore with depth stop.

Drilling the thru-hole with a 3/16″ brad point bit. Don’t be jealous of my awesome drill press table.

Preparing to counterbore for the bolt.

Ready to counterbore for the heads of the split nuts (identical to counterboring for the bolt head).
Counterboring for the head of the split nut.

Preparing to counterbore for the shank of the split nut.

Ready to counterbore for the shank of the split nut.

Counterboring for the shank of the split nut.

Bored on nut side.
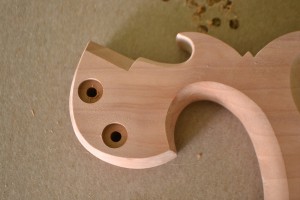
Bored on bolt side.